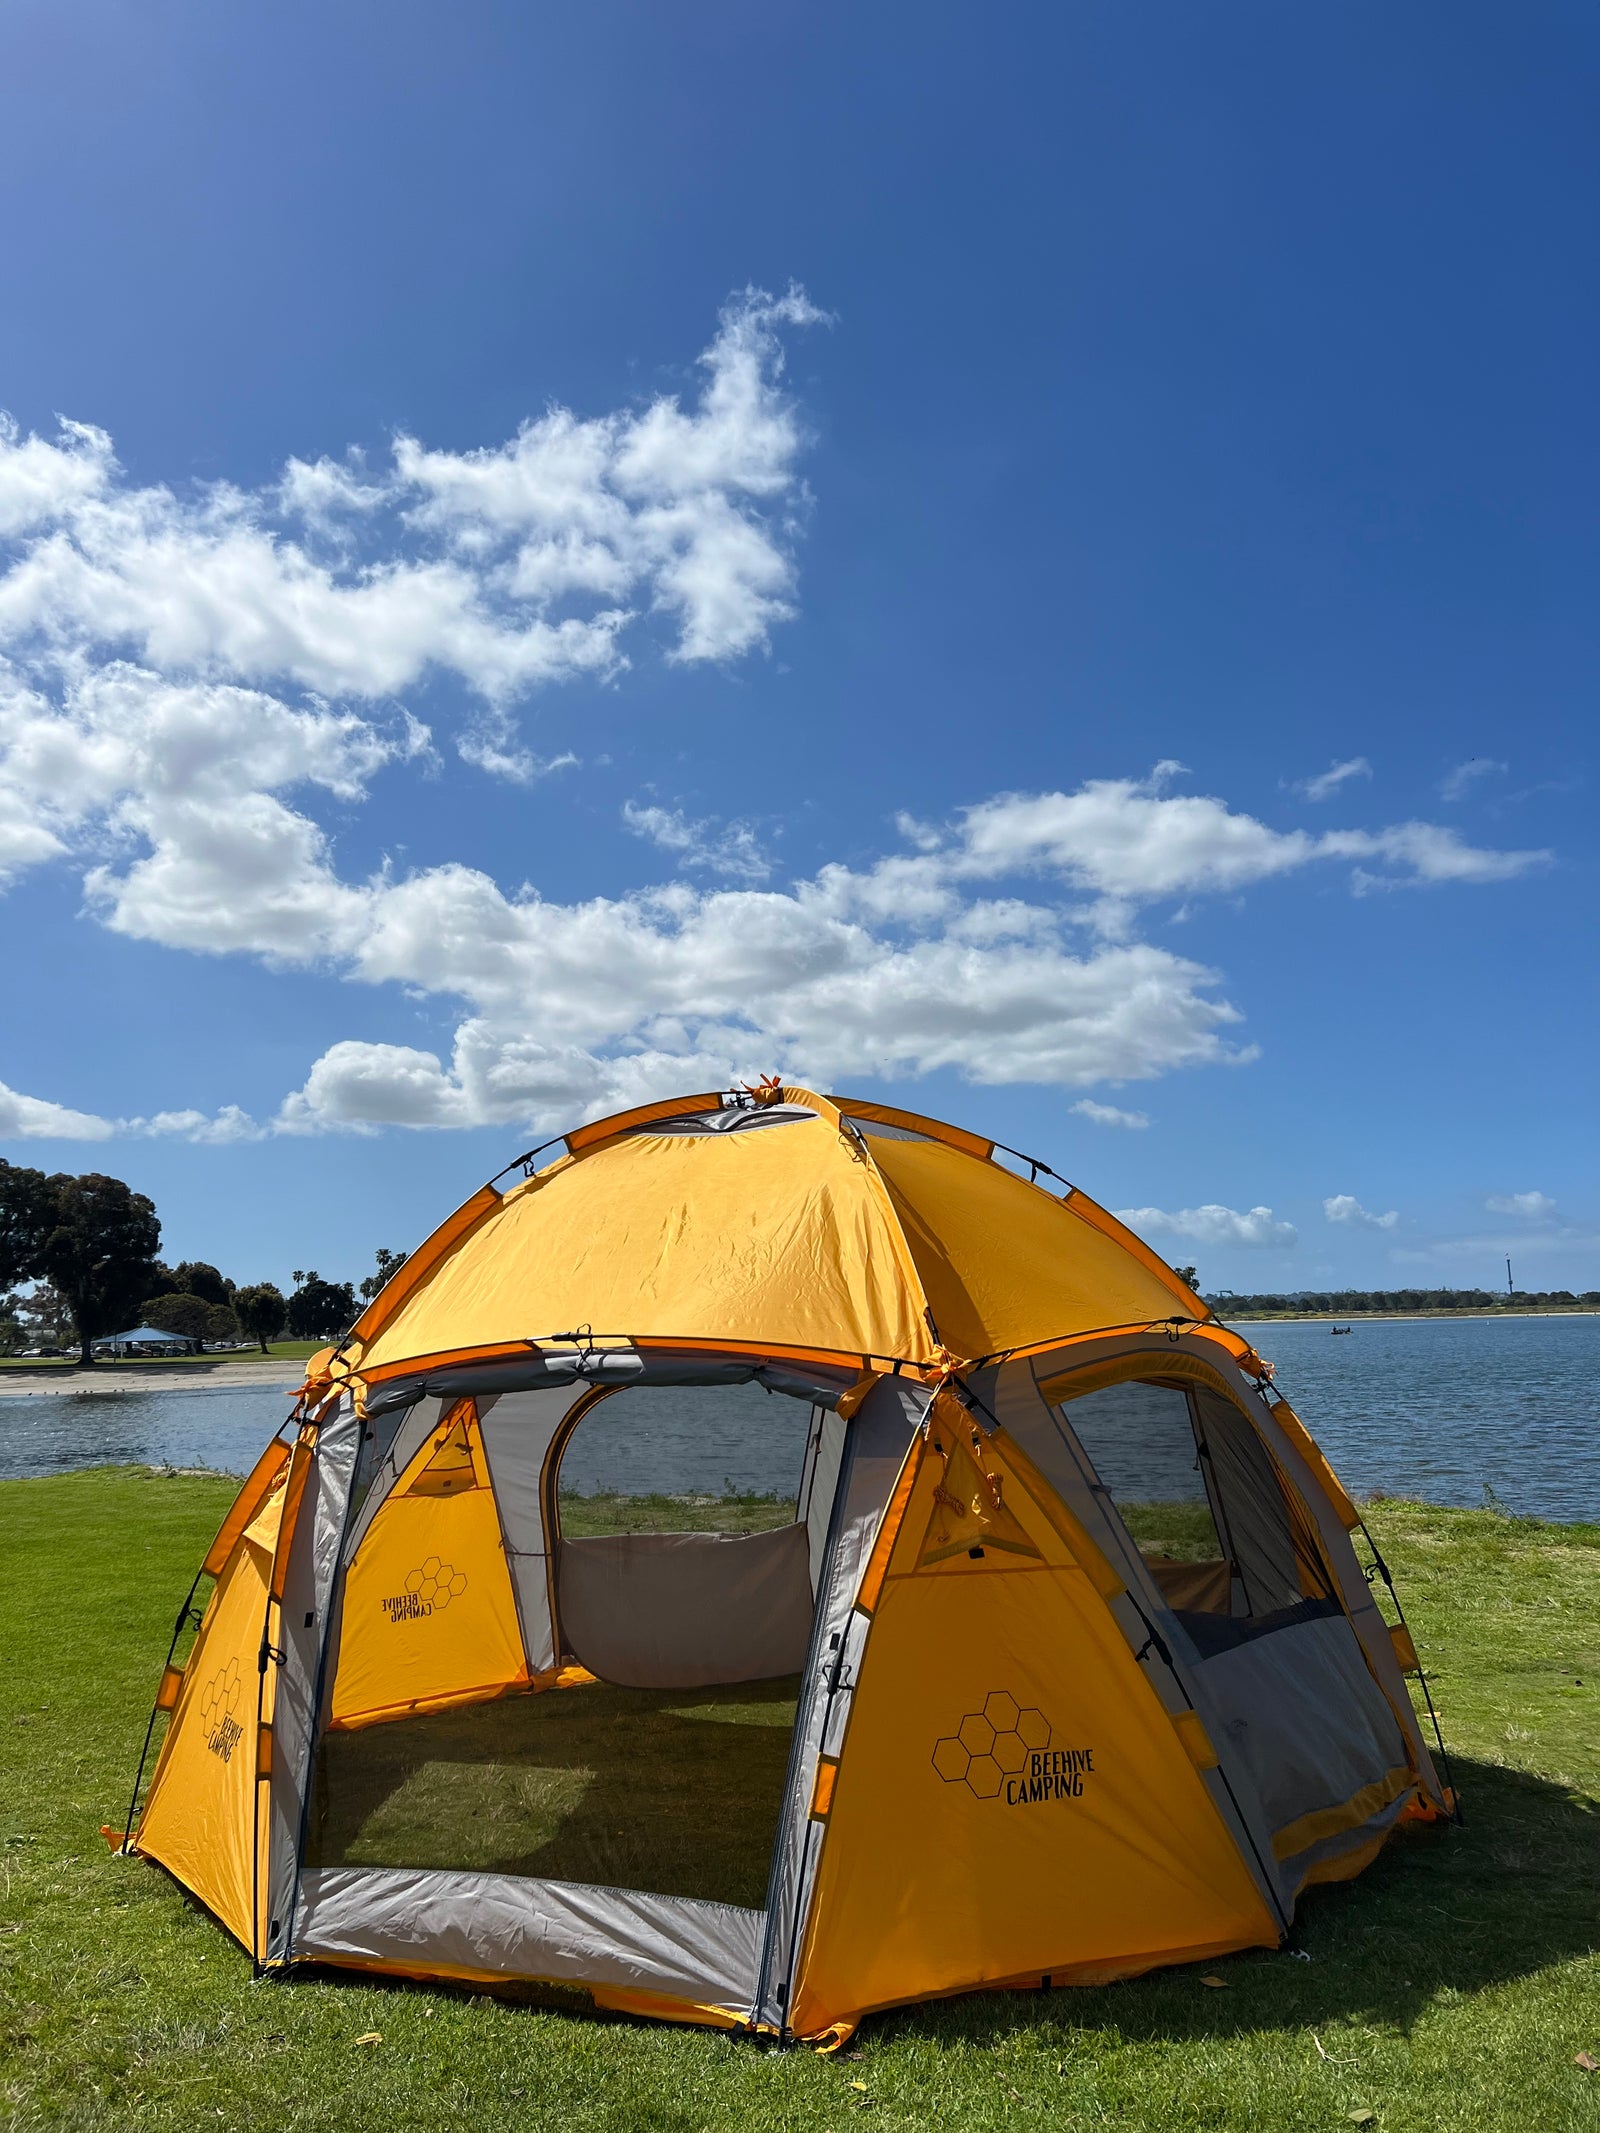


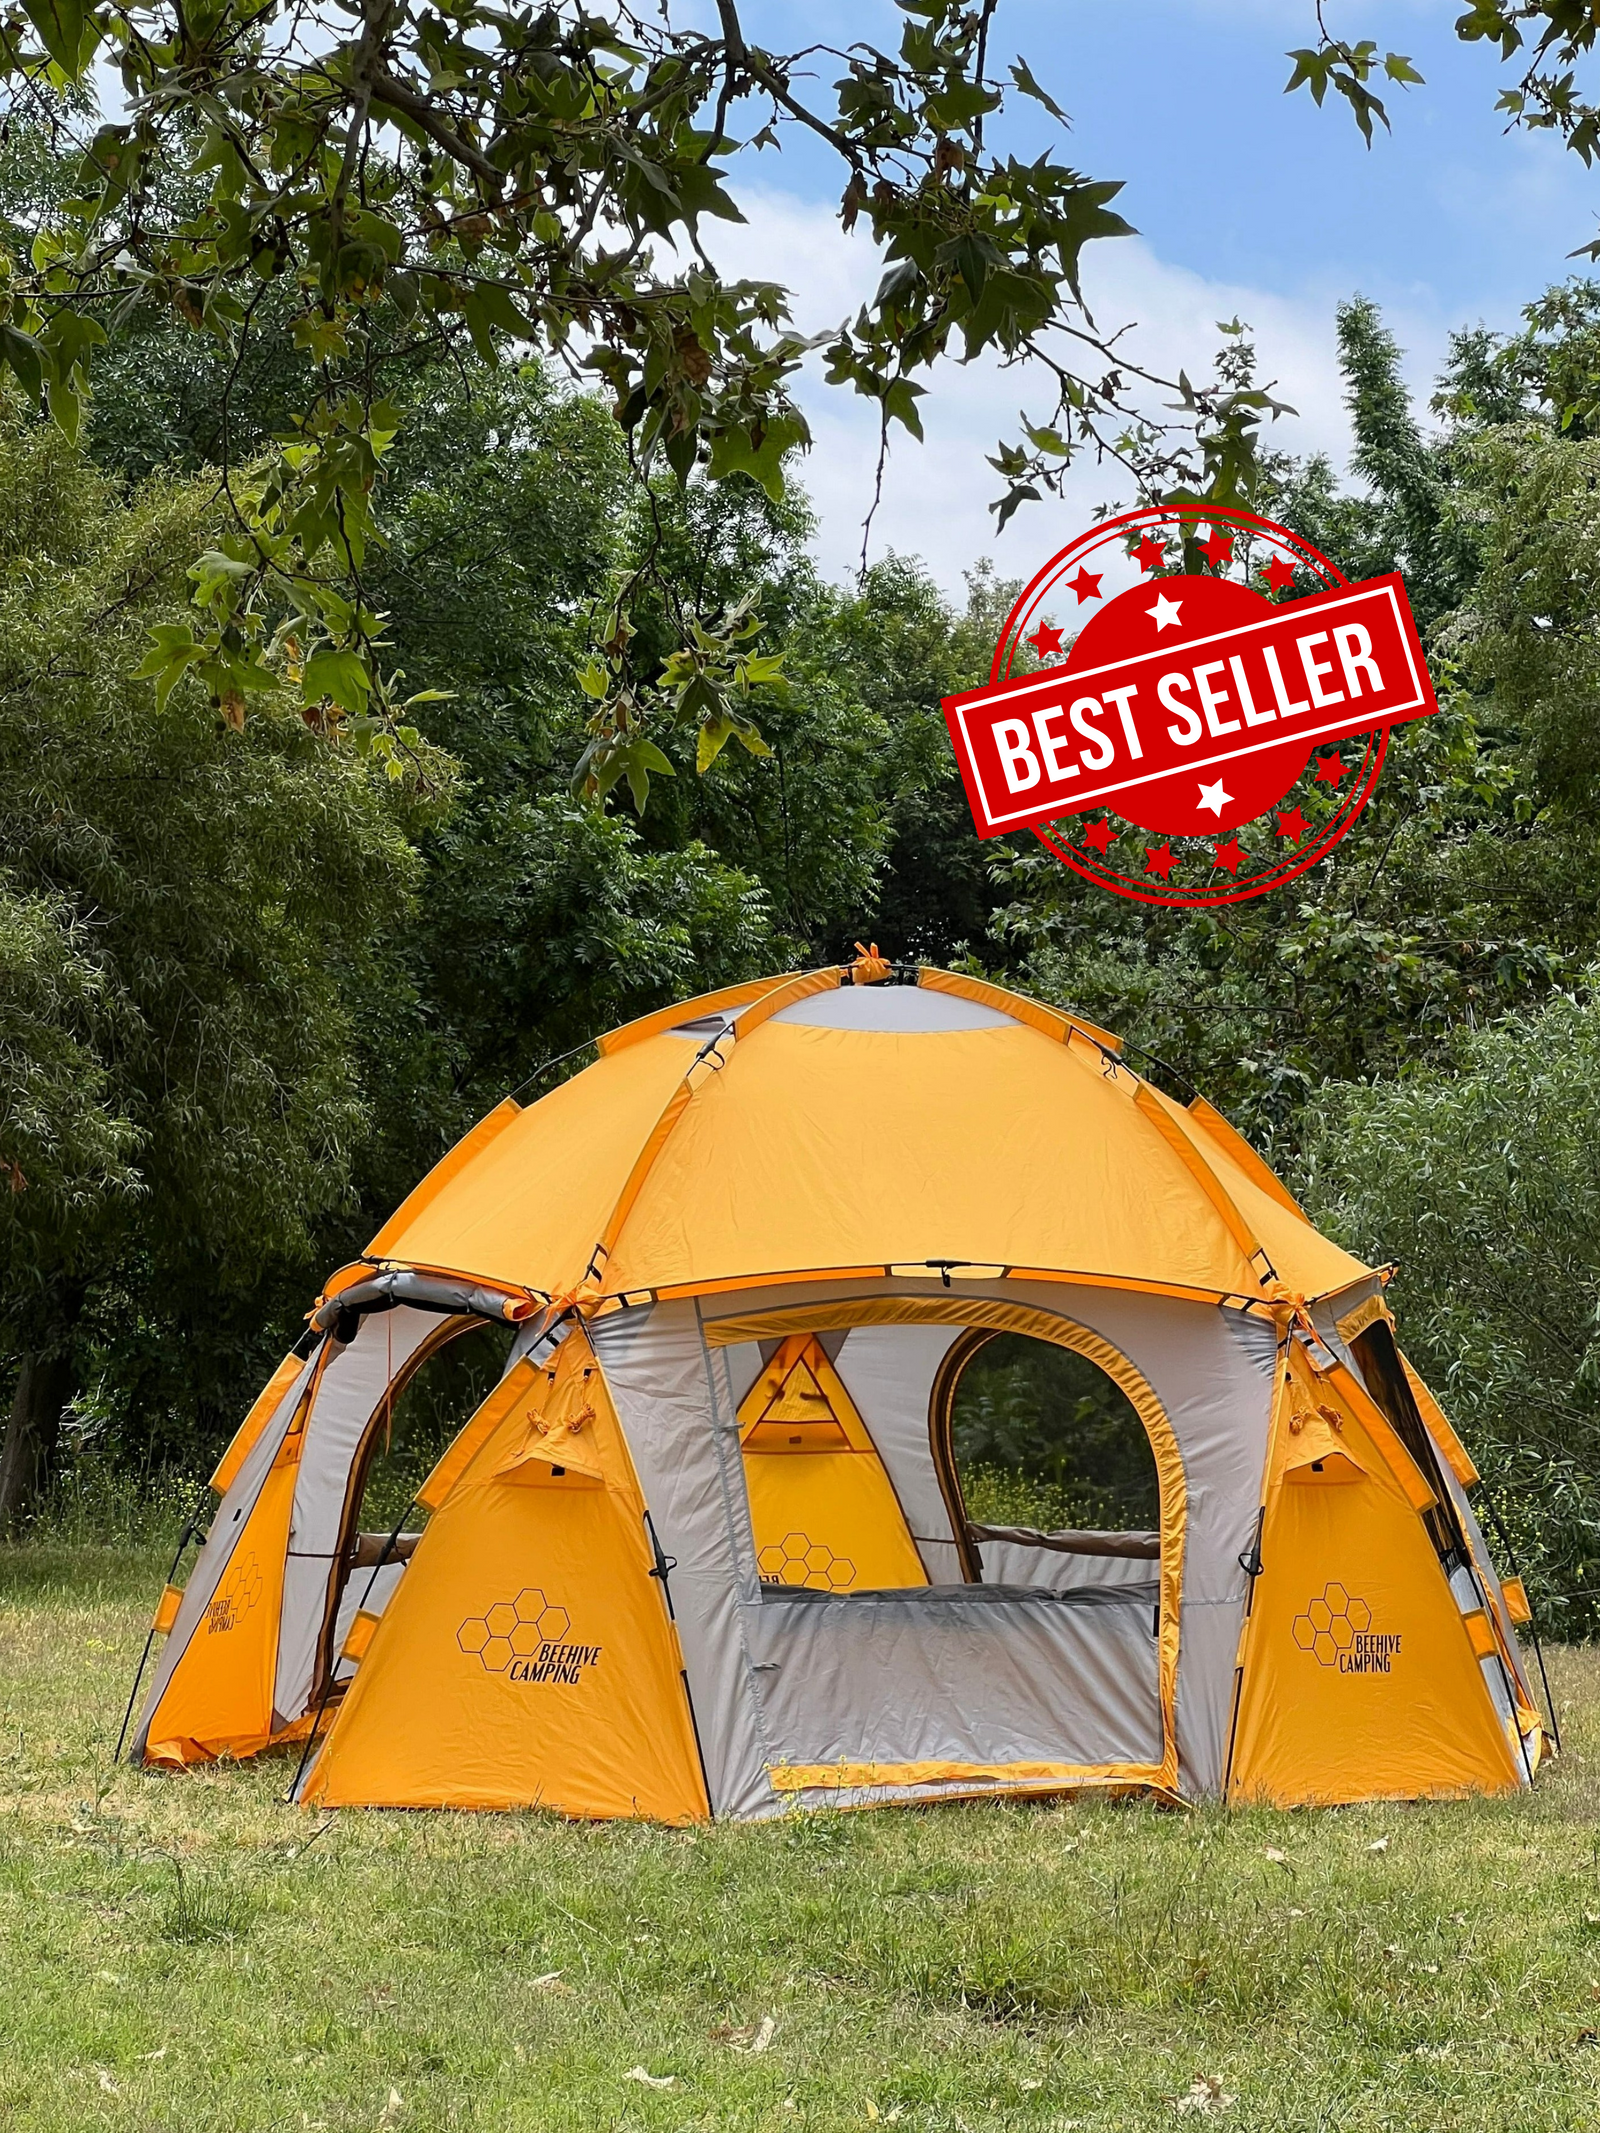


Welcome to the Hive! The Drone will simplify your next outdoor adventure but you need to learn how to correctly assemble your new tent first! Read our step-by-step guide to master the art of the five minute instant set-up.
Before you begin setting up your Drone, be sure to read the following information:
- Do not unfasten any of the ropes or ties along the outer tent.
- Be careful that your fingers are not caught while locking leg joints or inserting stakes.
- Select a level campsite clear of rocks, branches and other hard or sharp objects, and do not set up your tent under trees.
- Two or more people are recommended for tent assembly and disassembly.
Assembly Instructions:
Step One: Take Drone out of carry bag. Layout and position tent in a vertical position with all poles pointing upward.
Step Two: Spread leg poles outward, unfurling the tent gradually.
Step Three: Begin locking the top joints of the leg poles into the locked position while simultaneously lifting the roof to create a dome shape. You can enlist the help of another person to lift the roof from the other side of the tent while you lock the leg joint in place.
Step Four: Tuck the base of the tent in at the bottom joints to expose the middle joints. Begin locking the middle joints (horizontal joints above door/window panels).
Step Five: Lock the bottom joints. Once all leg joints are locked and tent is fully assembled, insert stakes into the stake loops at the base of the tent to secure tent to the ground. If needed, the rope ties along the sides of the tent can also be tethered to the ground with stakes or terrain can be piled onto the terrain skirts for additional security.
Step Six: Spread out rainfly on top of tent and fasten with attached clips onto tent poles.
Disassembly Instructions:
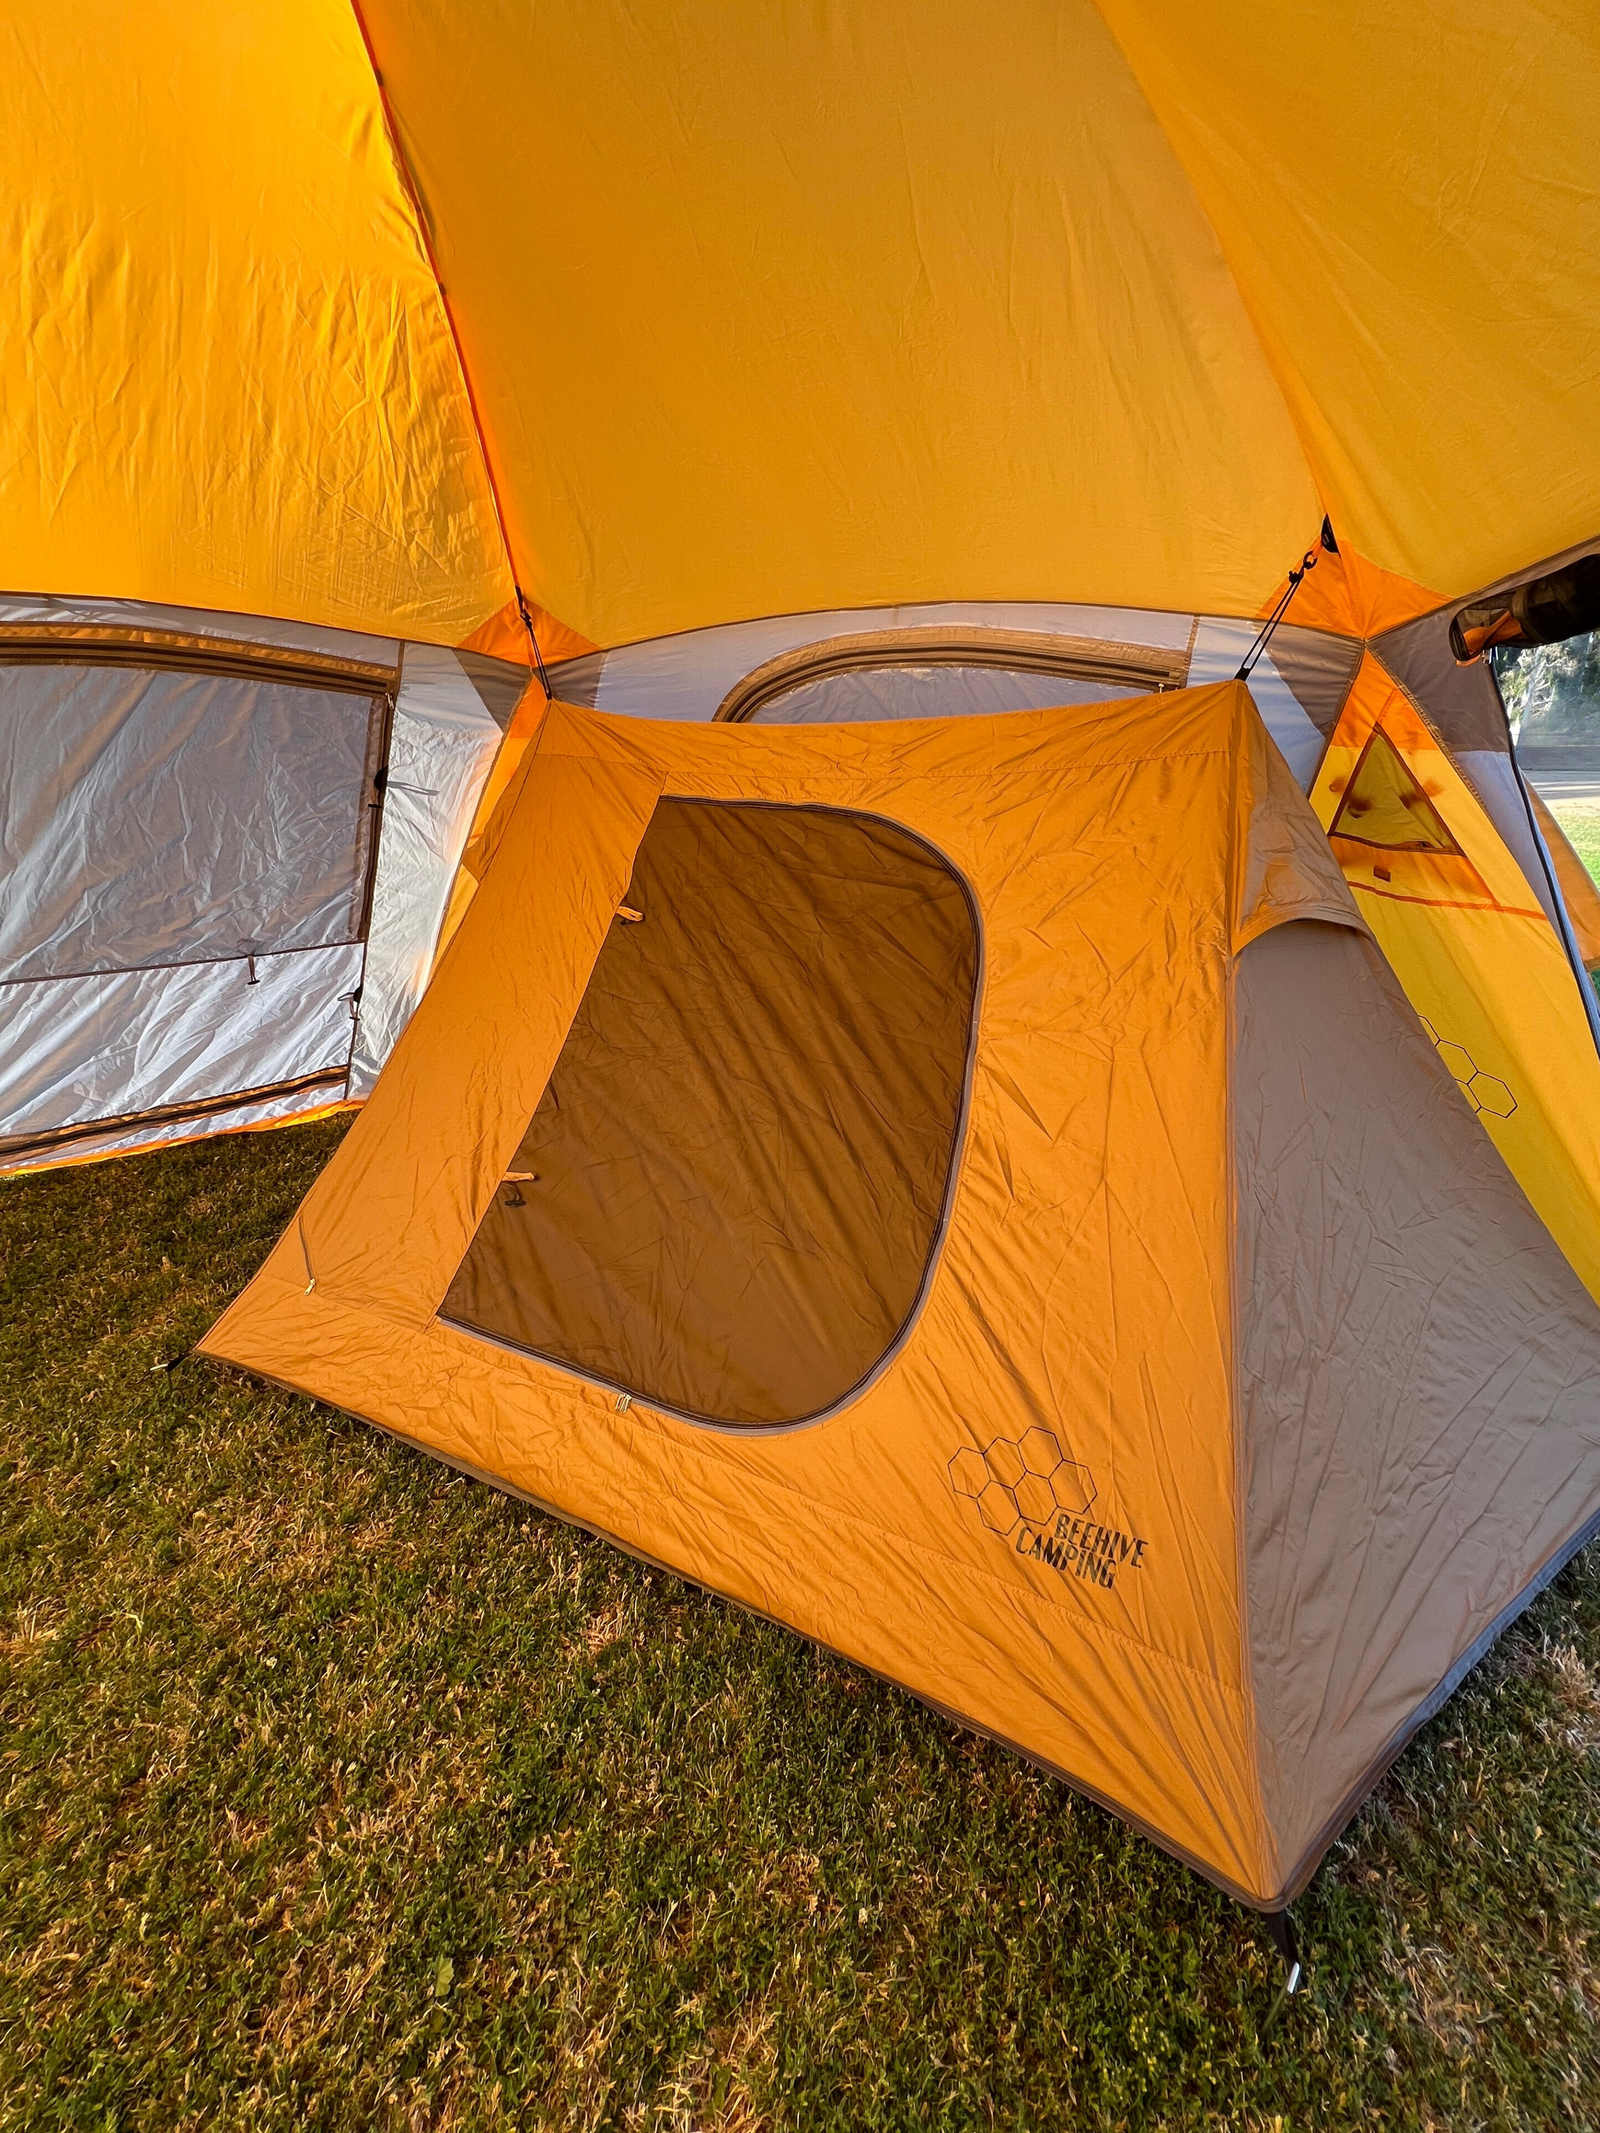
Step One: Zip all of the windows and doors shut to ensure mesh and fabric panels do not get caught when disassembling. Remove stakes and rainfly.
Step Two: Starting with the lower-most joints, release joint by pushing down the upper part of the joint and sliding down the lower collar of the lower joint simultaneously. If the lower collar does not slide down easily, push down the upper part of the joint lightly.
Step Three: Repeat this process with the higher joints, working from bottom to top.
Step Four: Bring leg poles inward, furling the tent gradually.
Step Five: Return to carry bag and store in a dry, safe location for your next adventure.
Things You Should Know:
- Never store your Drone, even for a short period of time, without drying it thoroughly and brushing off caked dirt or debris.
- Stakes should be removed by pulling on the stake itself. Never pull on the tent to remove stakes which could result in damage to your Drone or injury.
- Do not leave your Drone set up for weeks at a time. Be aware that exposure to direct sunlight can seriously damage material and/or cause discoloration.
- Sand can damage the Insta-set pole joints. Take extra care when setting up your Drone on the beach or on sandy terrain to avoid allowing sand to enter the joints.
View our step-by-step guide with images included below. If you have any questions or need further help, contact us at info@beehivecamping.com.


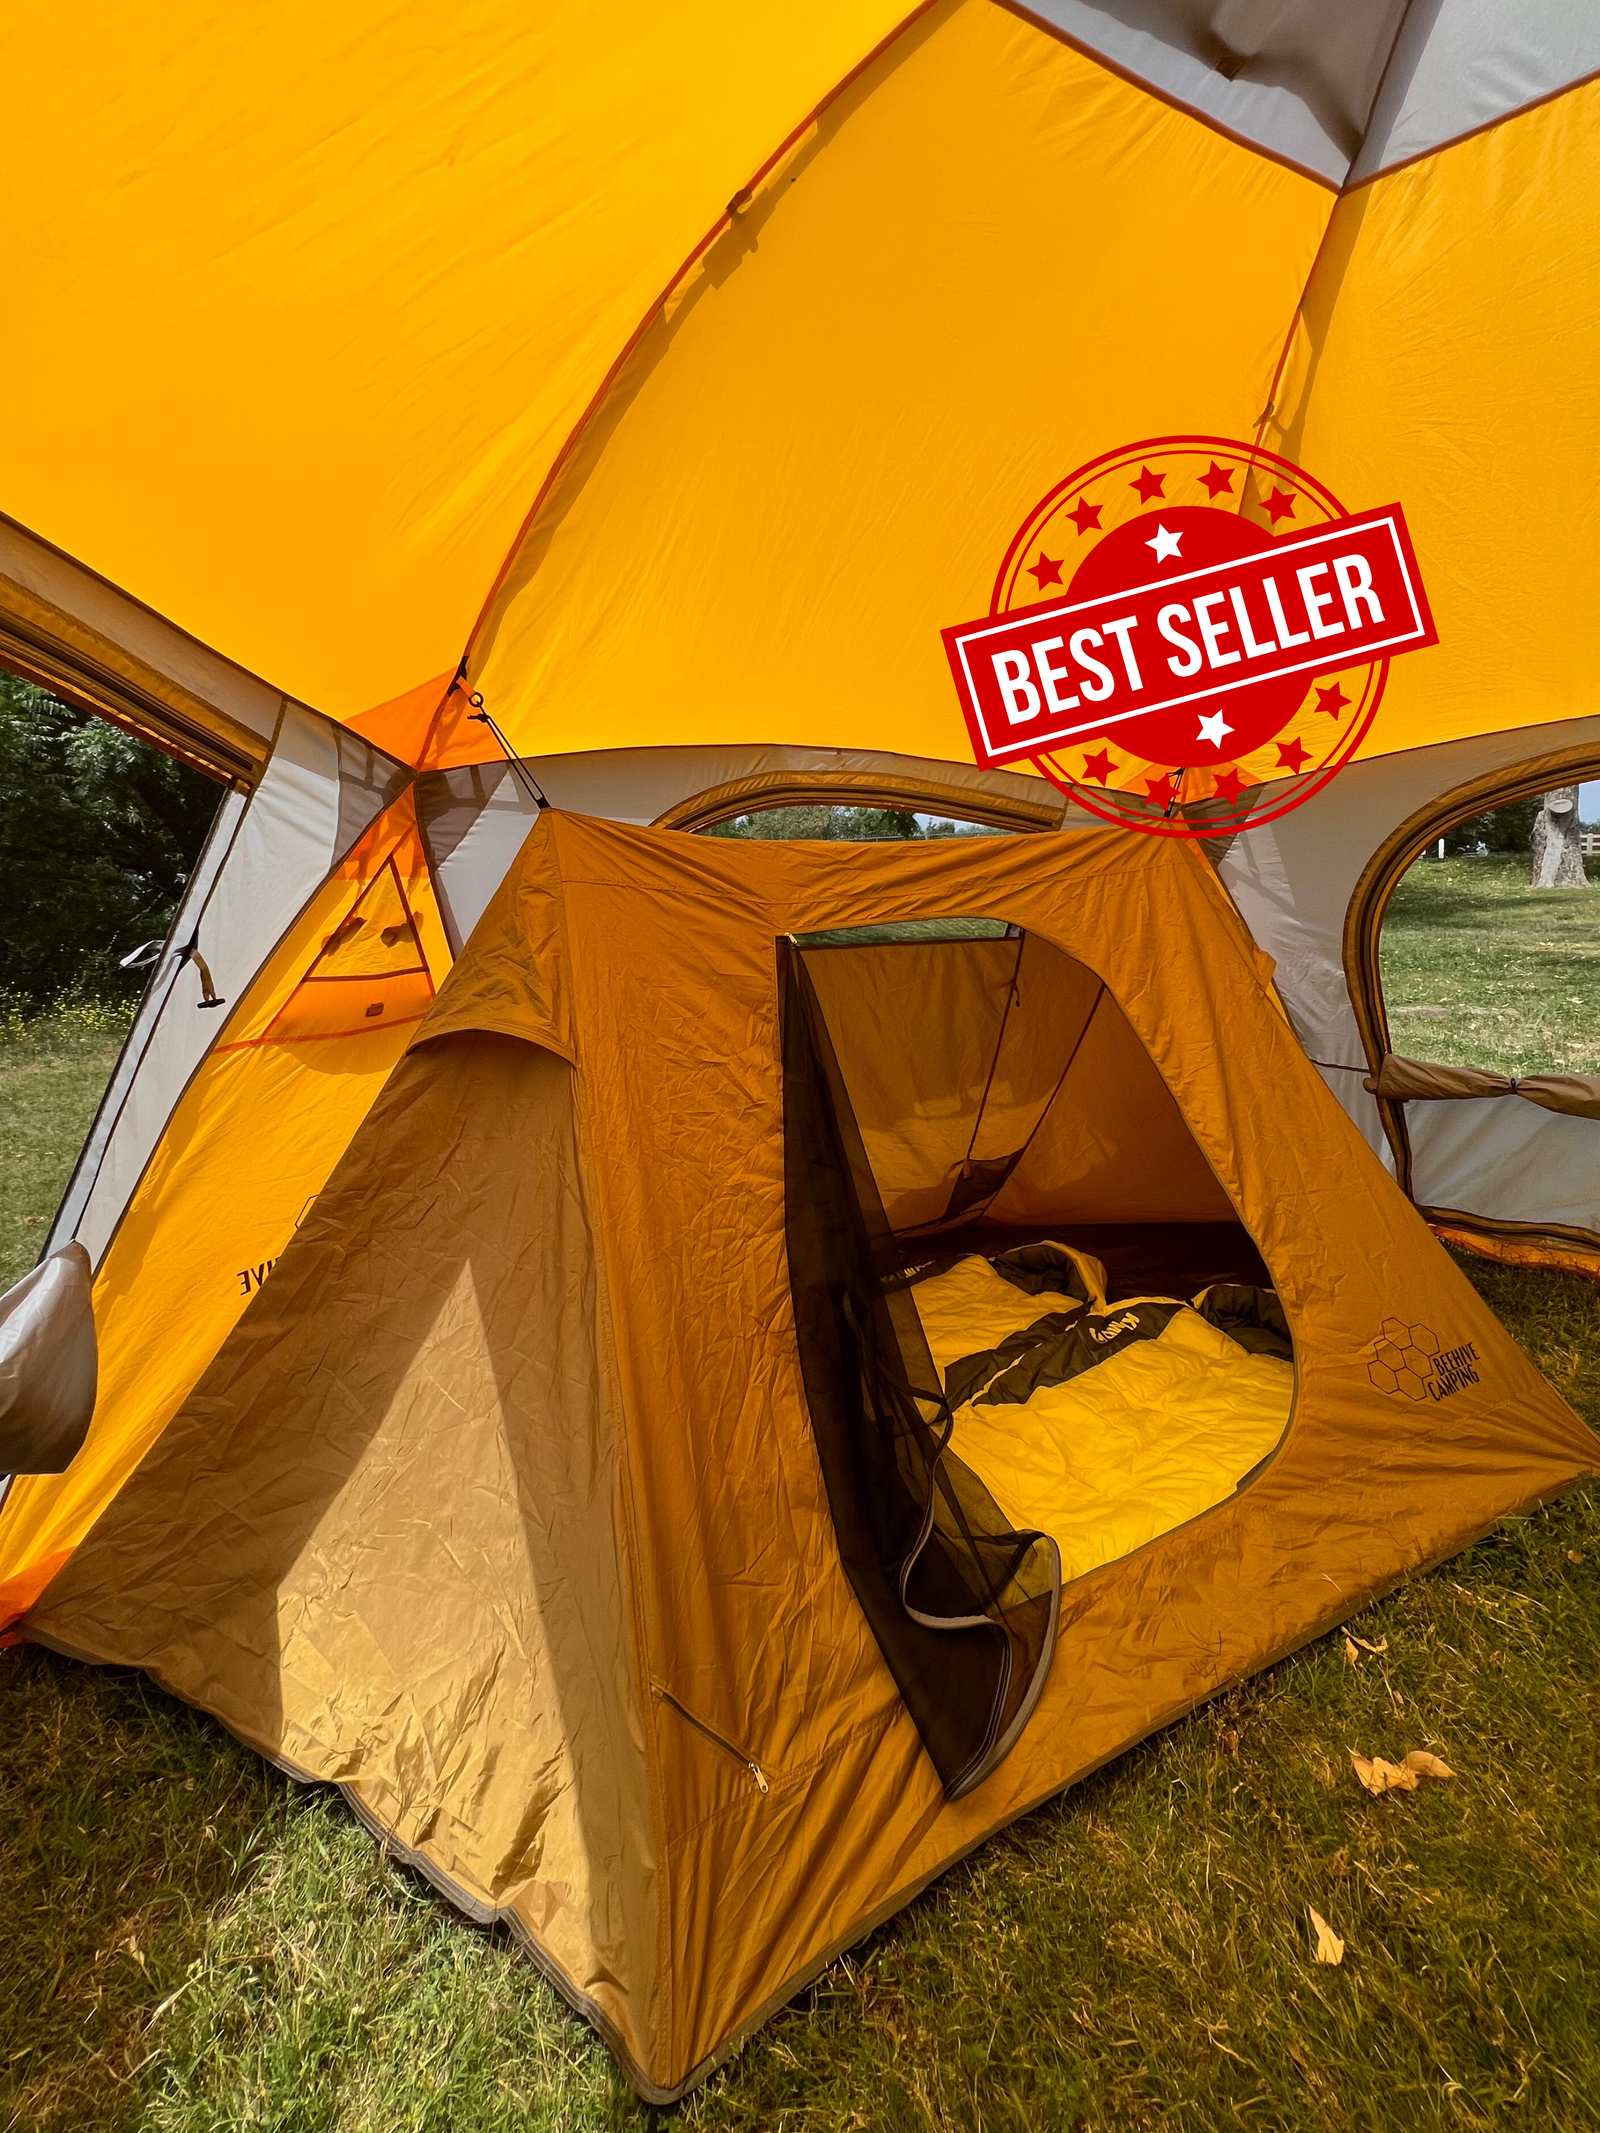
The Drone 280 is a two-person setup tent with an Inner Tent and a Rainfly Patio. Follow the instructions to learn how to setup and takedown this tent.
Drone 280 Manual

Welcome to the Hive! To make your first Drone setup and takedown simpler, we've prepared step-by-step follow along tutorials. Remember, you can find a paper version of these instructions in the poc...