


Welcome to the Hive! Watch the step by step tutorial or follow along with the written instructions below to use your Connector.
Before you begin, you must set up your Scout or Scout Mini beside a door panel on your Drone. Leave around 12 inches or 30 centimeters of space between the tents. Be sure to select a level campsite clear of rocks, branches and other hard or sharp objects, and do not set up your tent under trees. Two or more people are required for assembly and disassembly.
Video Tutorial
Setup Instructions
-
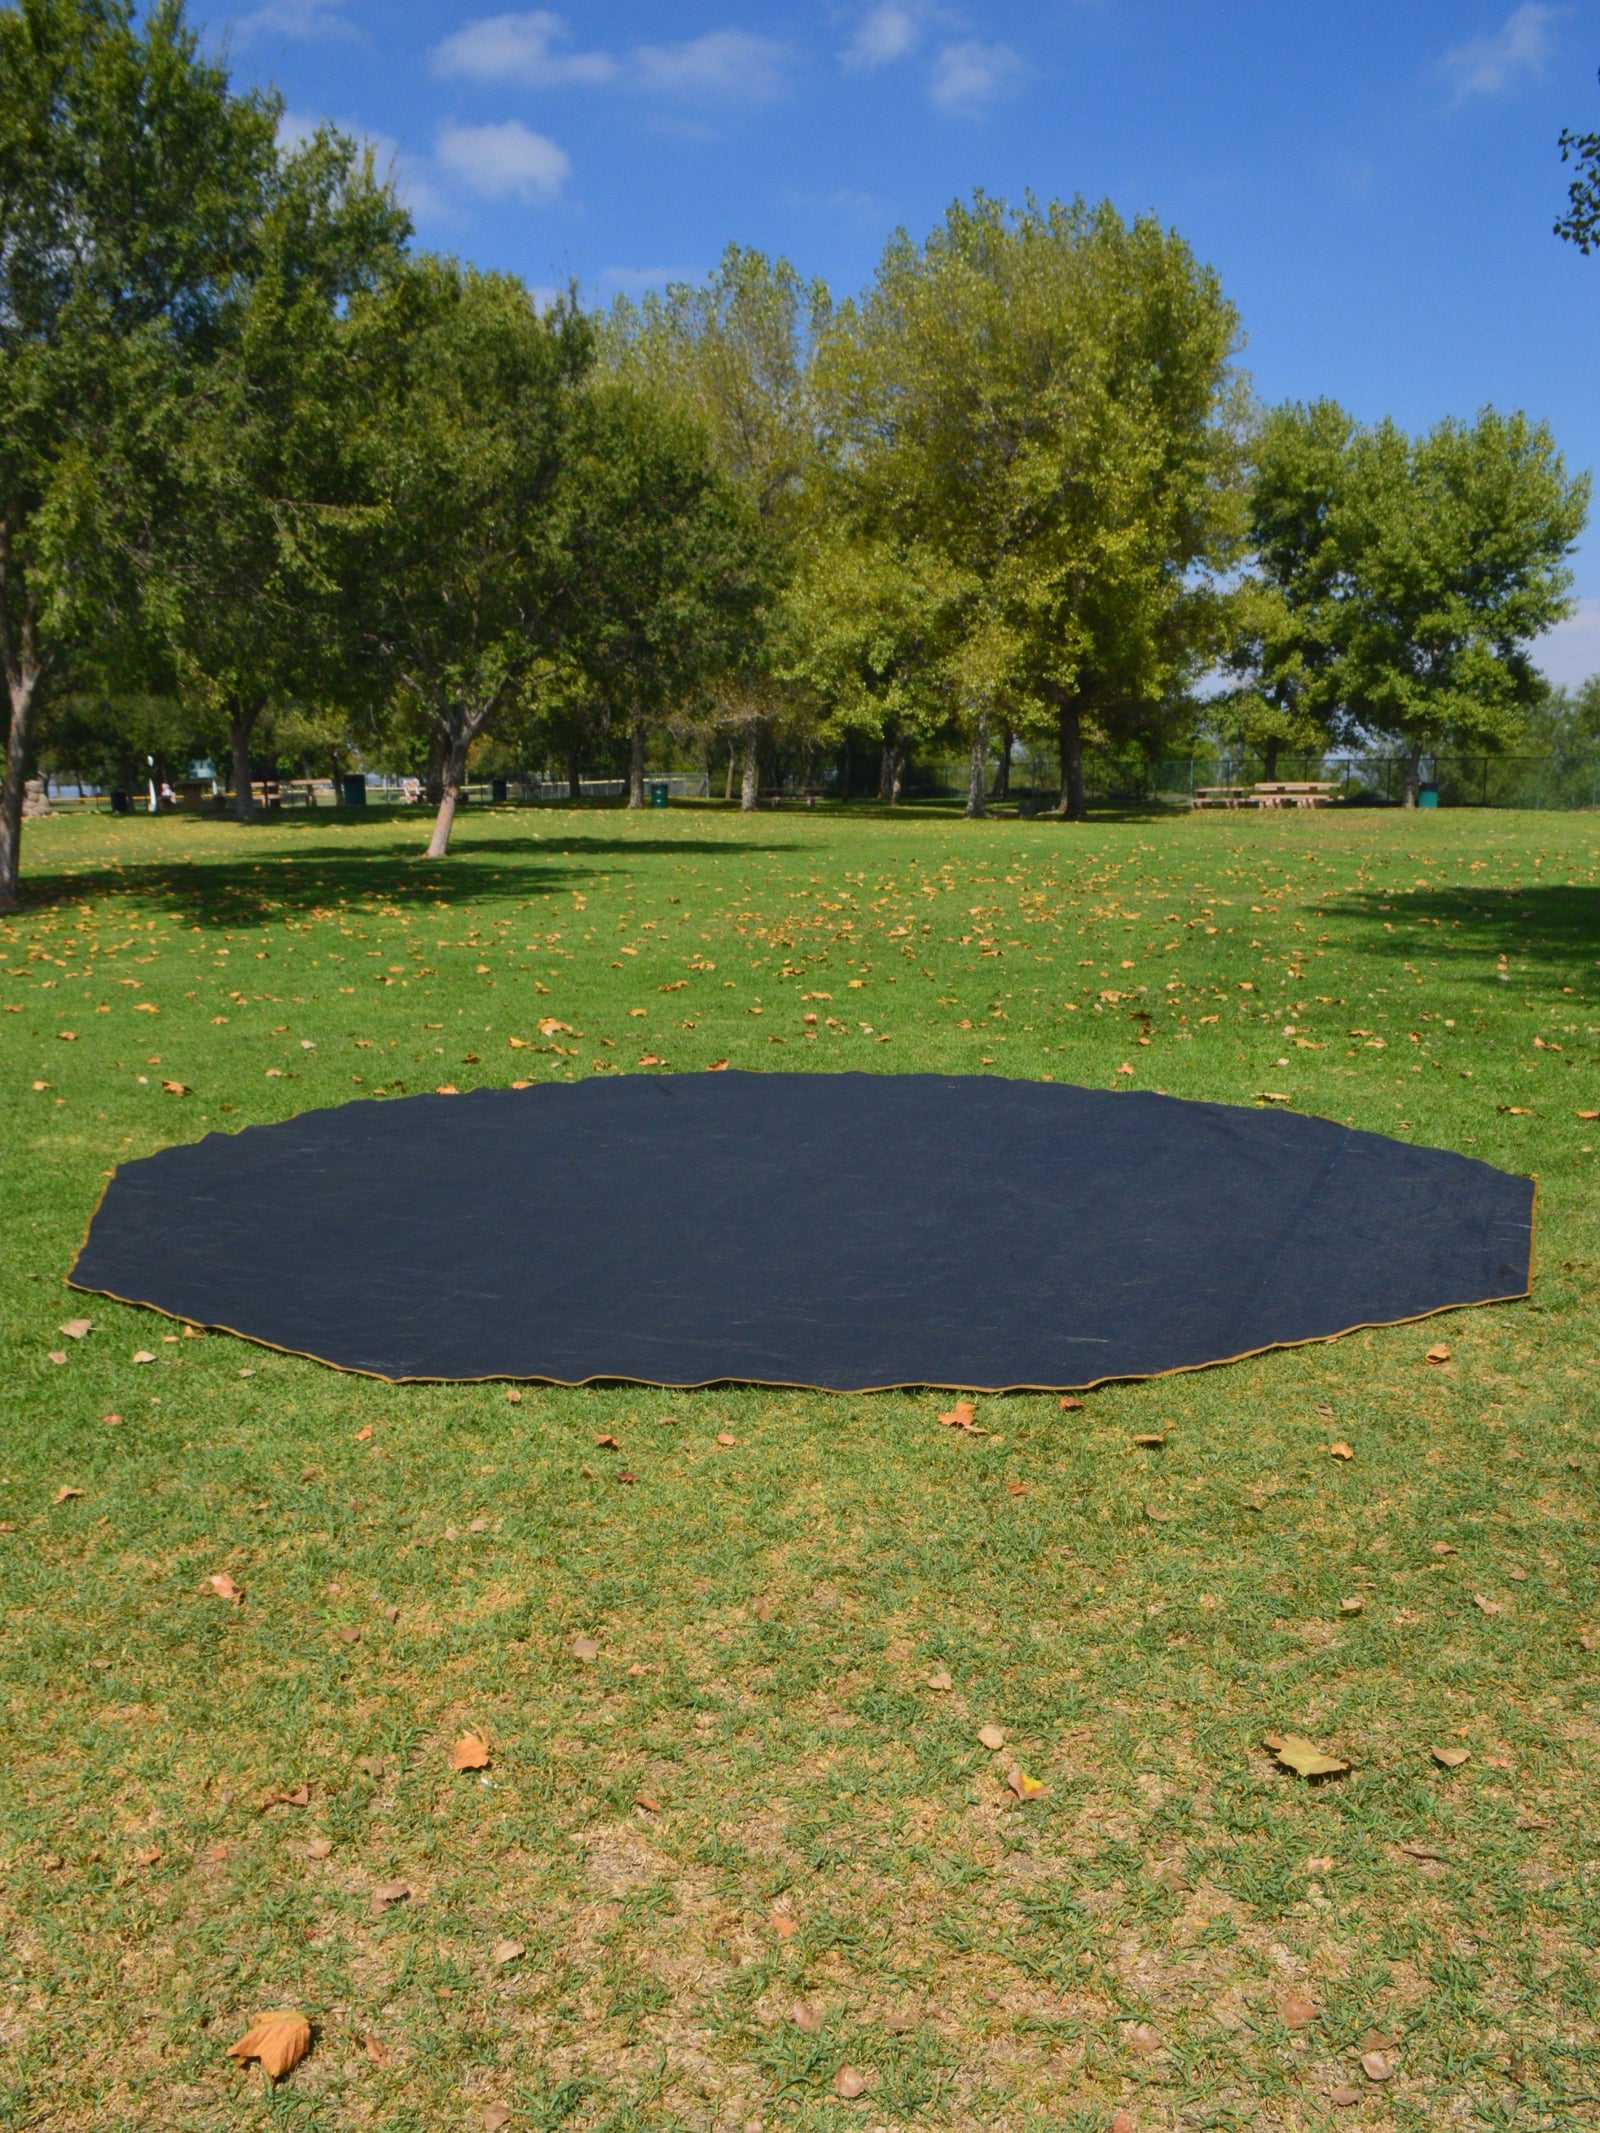
Once both tents are setup and staked, unfurl the Connector. The logo should face outwards.
-
Loop black strap behind the Drone leg pole joint as shown. Tighten to secure. Tie gray fabric flap behind Drone leg pole joint as shown. Tie straps around leg pole joint tightly.
-
Lift other side of Connector over tent. Logo should be facing outward.
-
Repeat step two by securing black strap behind the Drone leg pole joint. Tie gray fabric flap behind Drone leg pole joint as shown. Tie straps around leg pole joint tightly.
Before moving on, ensure black strap and gray tie are secured on both sides and that Connector loosely resembles a tunnel with logos facing outward.
-
Insert stake through both the black stake loop on the Connector and the black stake loop on the Drone beneath logo. Repeat on other side.
-
Extend four orange tethering ropes on Connector over the front door of tent. Adjust to desired tension and stake.
-
Insert stakes through black stake loops along base of Connector tunnel wall. We recommend fully staking tent down. Repeat on other side.
-
Enter Drone and unzip connected door. Insert stake through both the black stake loop connected to stretchy seam on Connector and the Drone plastic stake loop into ground. Repeat on other side.
Need additional help?
— Email our support team at info@beehivecamping.com
— Browse additional resources at the Hive Blog.


Watch the step by step tutorial or follow along with the written instructions below to use your Connector.
Connector Manual


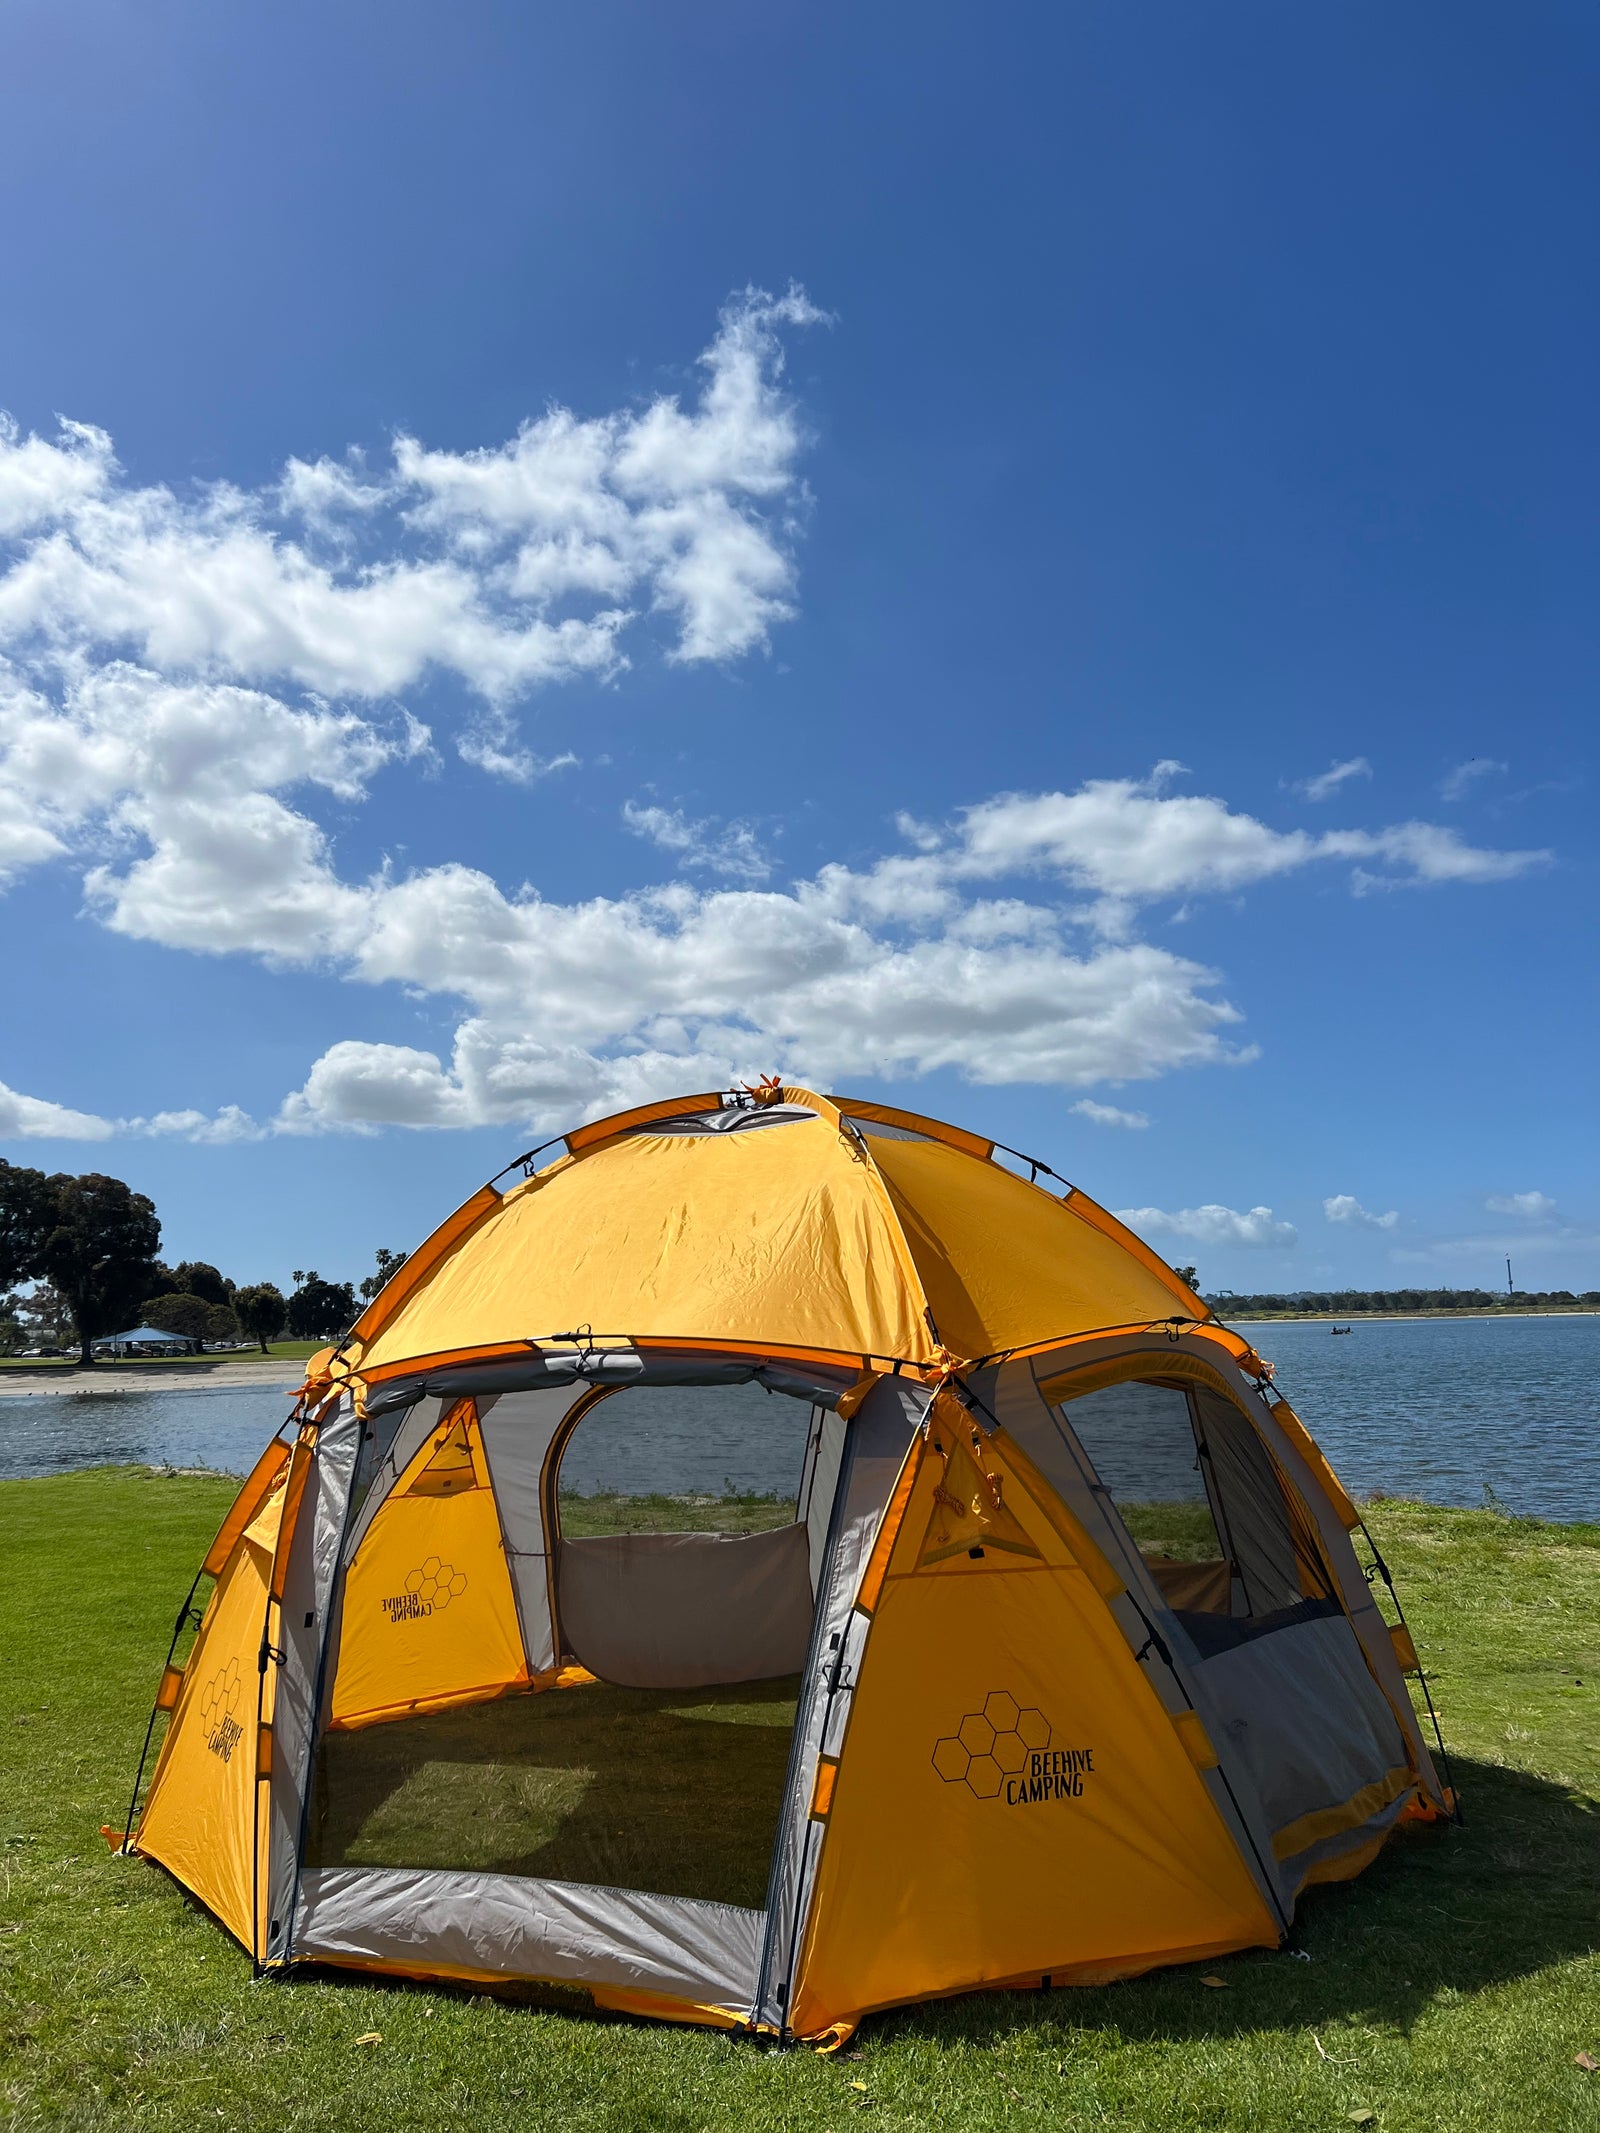
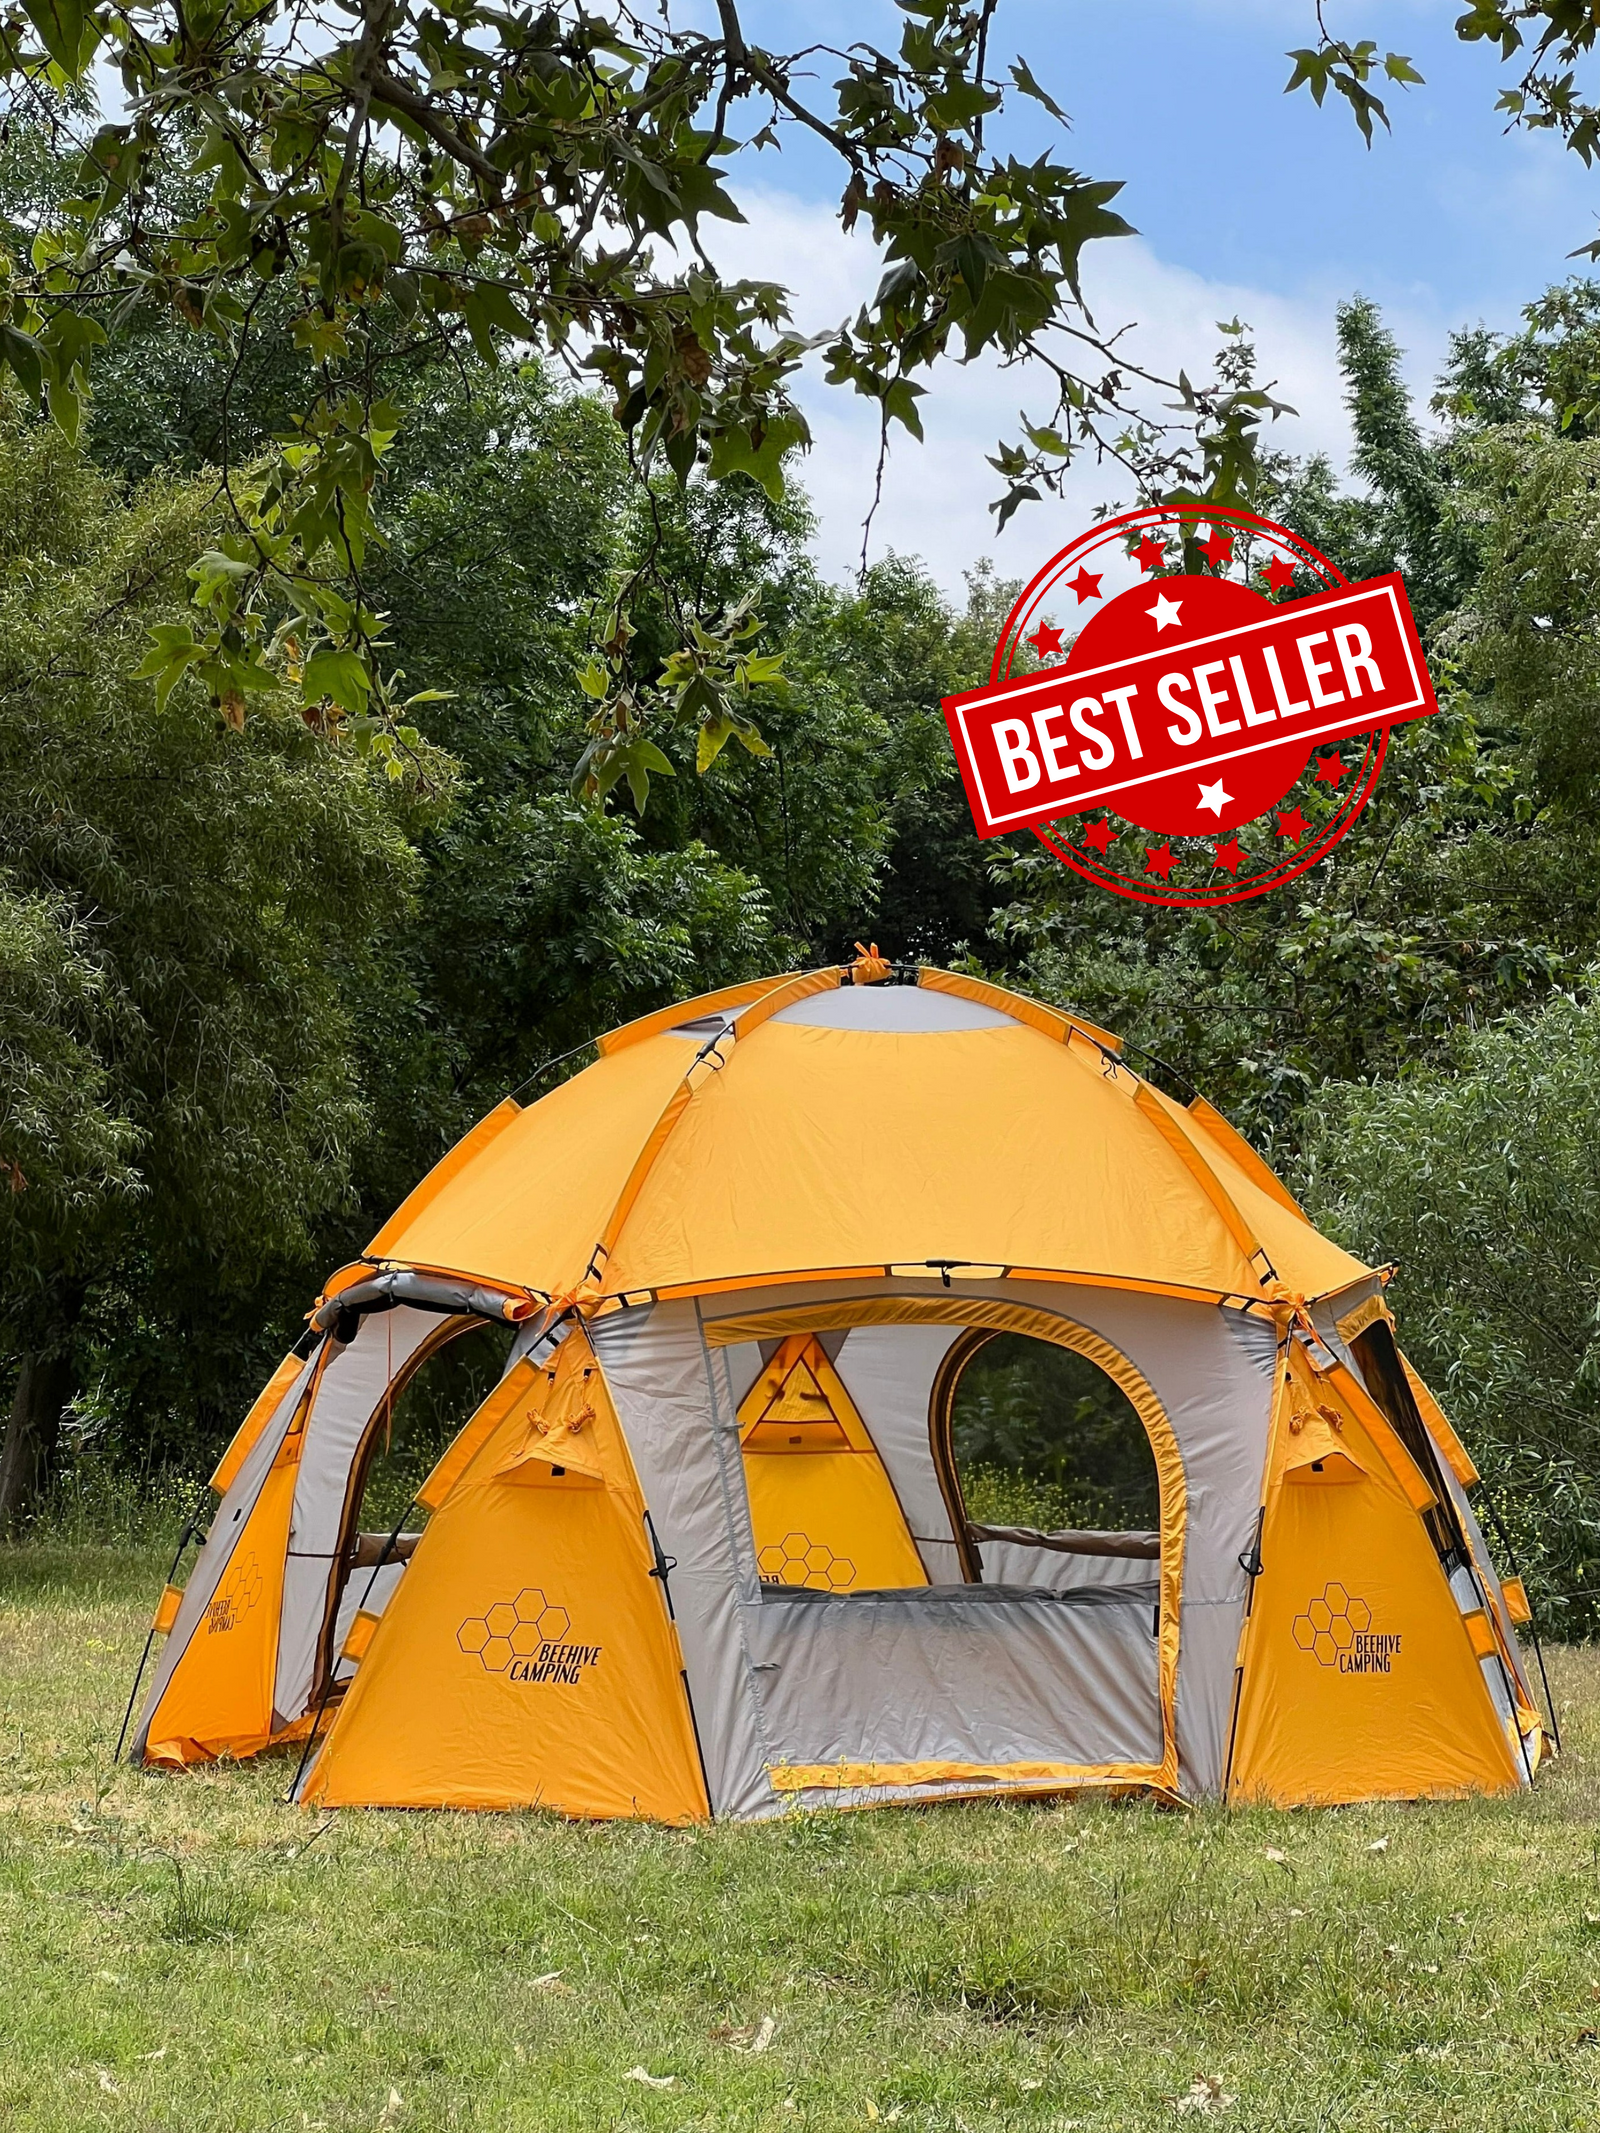
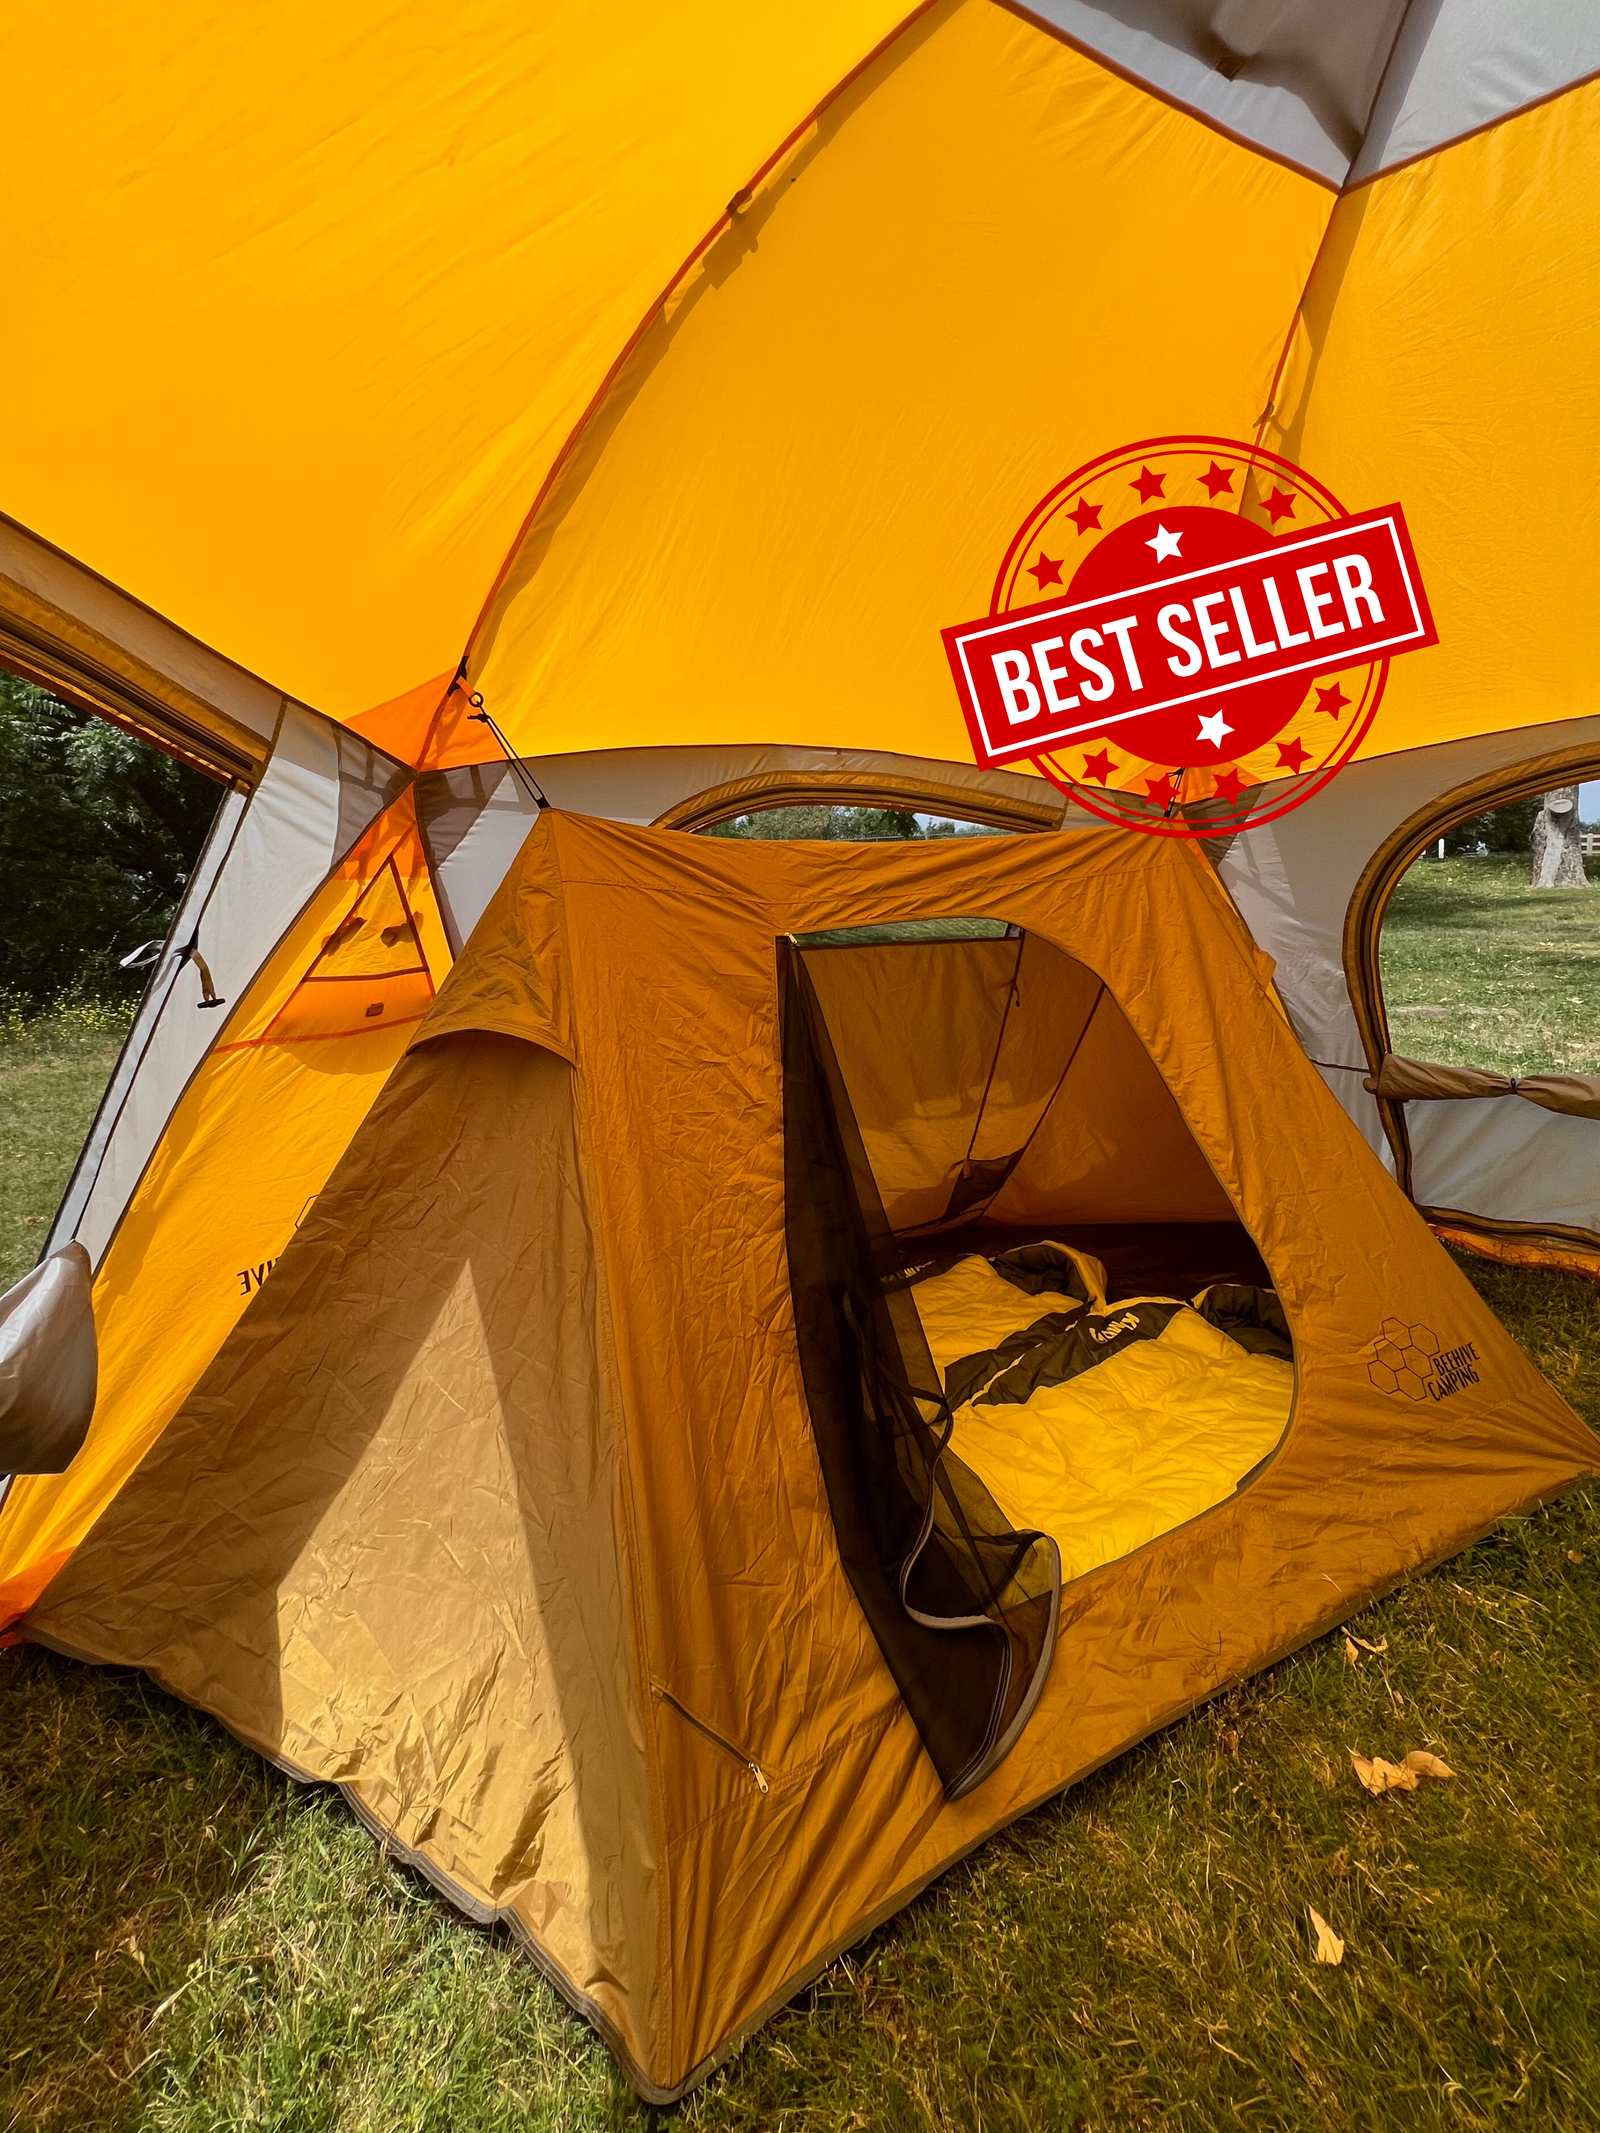
The Drone 280 is a two-person setup tent with an Inner Tent and a Rainfly Patio. Follow the instructions to learn how to setup and takedown this tent.