


To make setting up your new Inner Tent easier, we’ve prepared a step-by-step guide that will help you get familiar with your new tent.
Assembly Instructions:
Step One: Take Inner Tent out of carry pouch and remove straps.
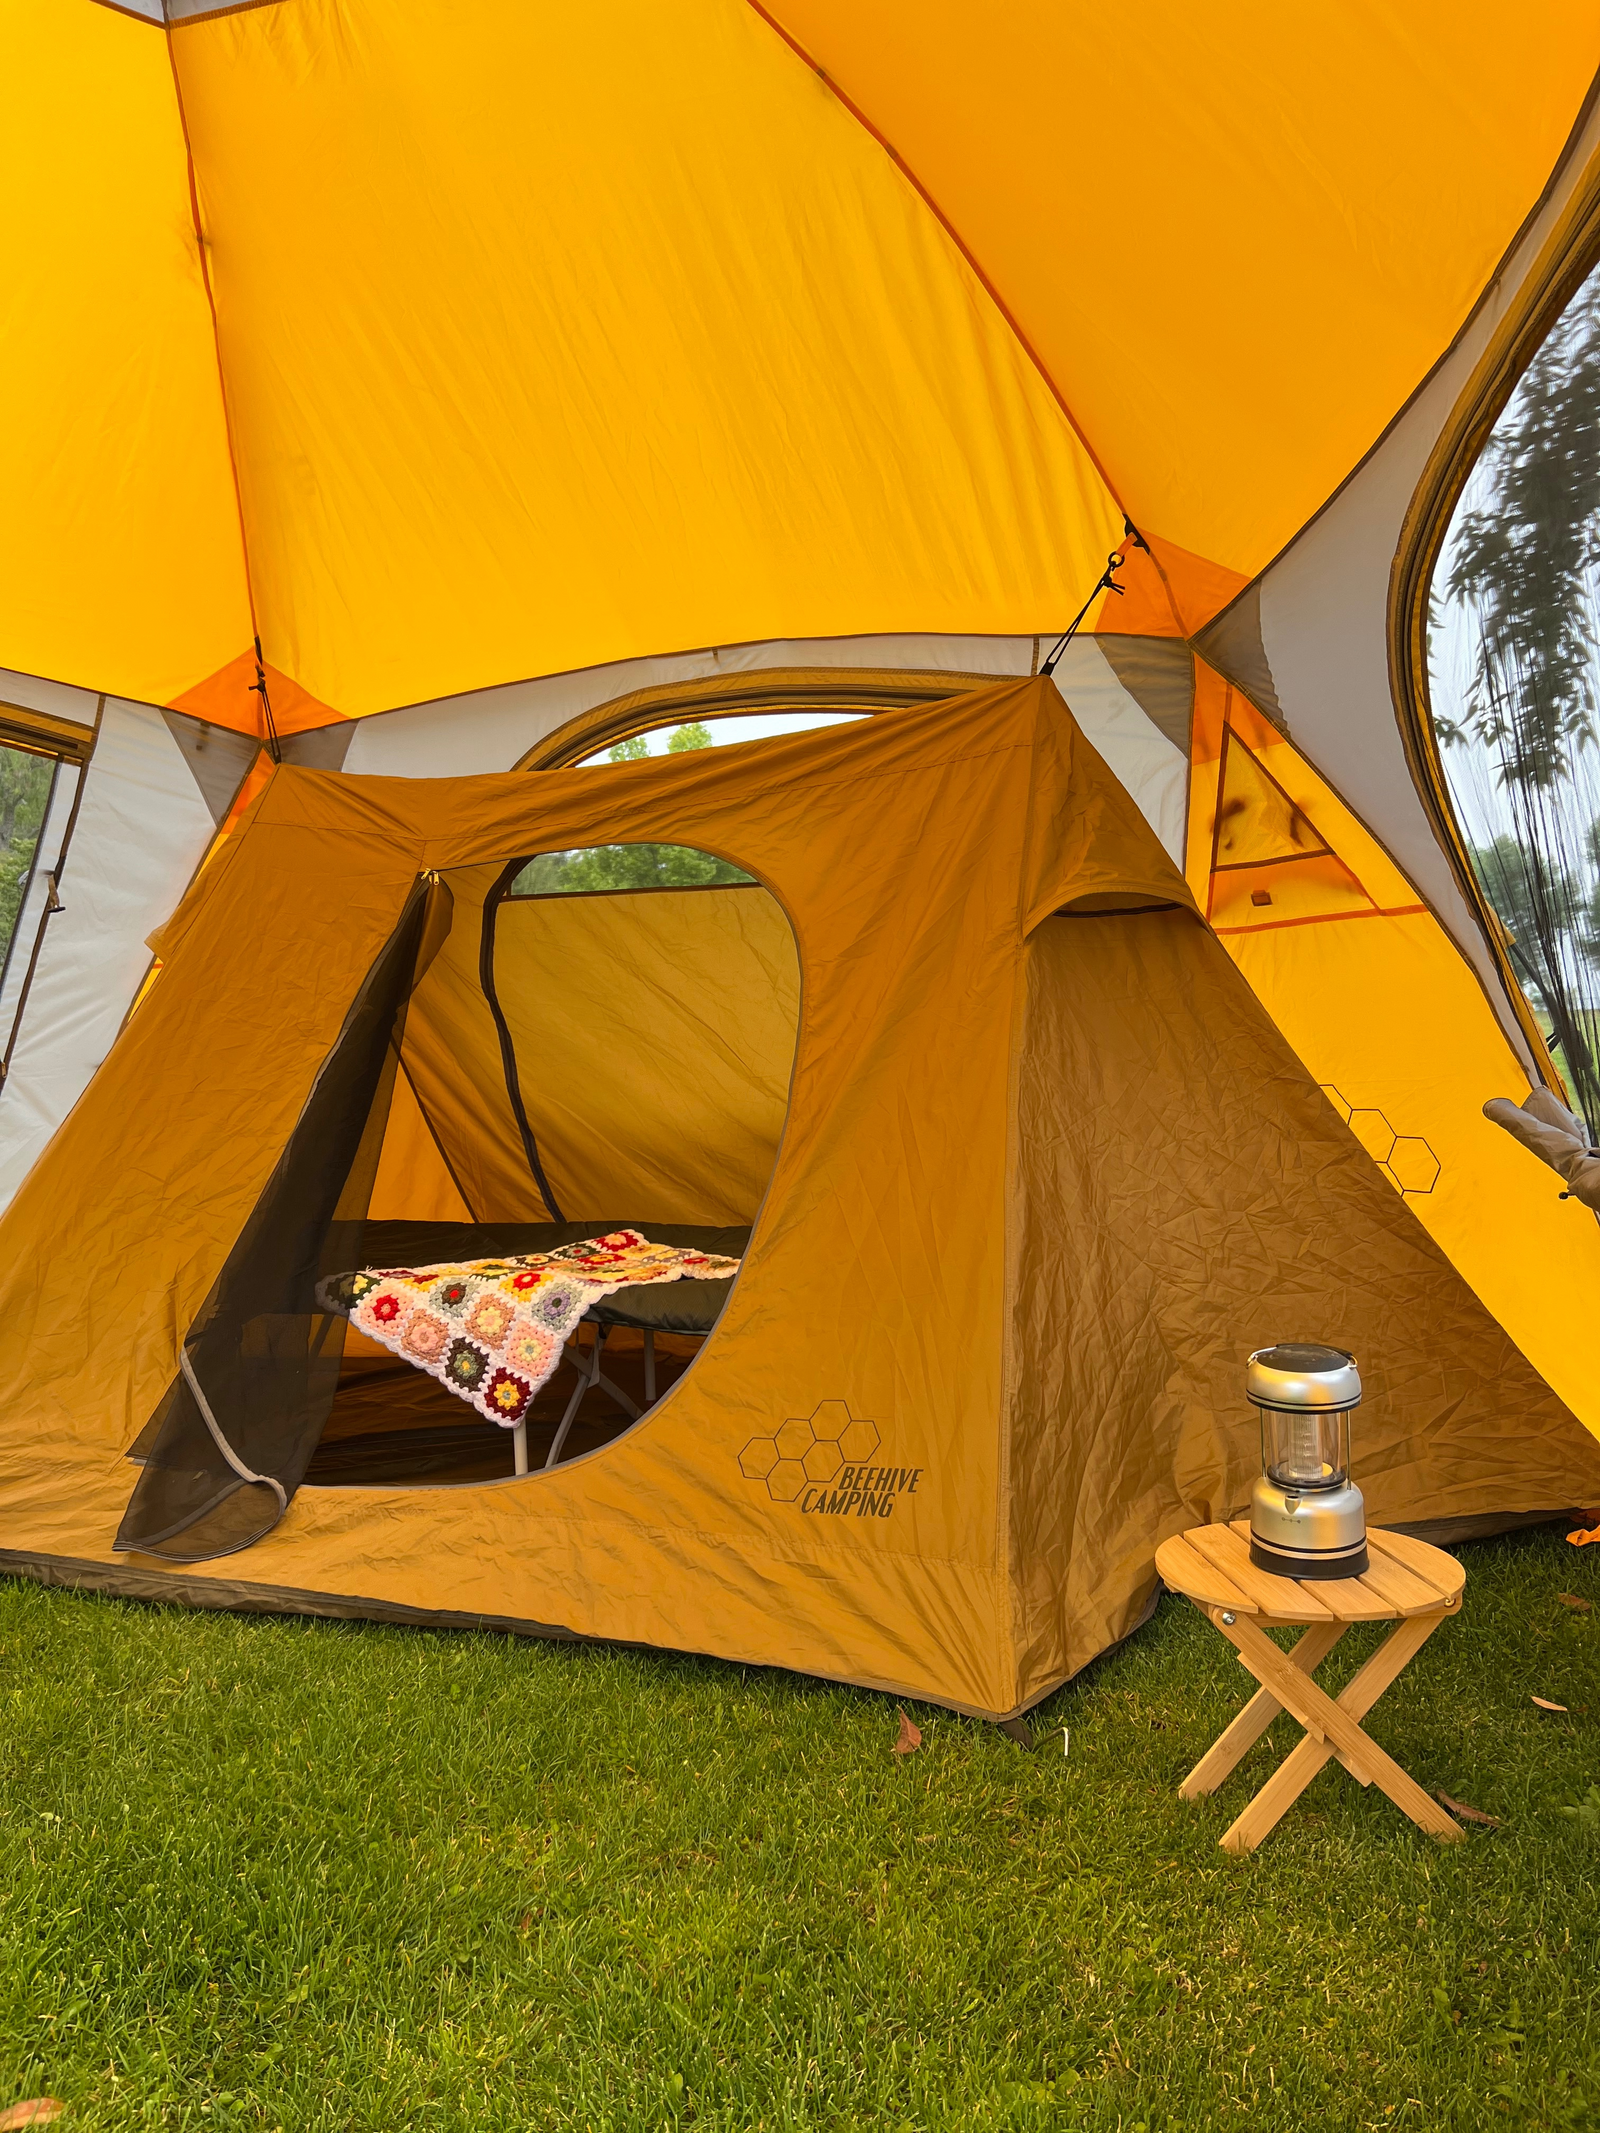
Step Two: Spread out the Inner Tent on the ground, directly in front of a window wall panel. To position the Inner Tent correctly, ensure that the logo along the front of tent is facing you during assembly.
Step Three: Attach roof hook onto the circle hook attachments above the window wall panel of the Drone. Repeat on other side.
Step Four: Locate the rear floor clip along the back of the Inner Tent. Attach to the circle hook attachment at the base of the window wall panel of the Drone. Repeat on other side.
Step Five: Locate the middle floor clip. Attach to circle hook attachment at the base of the neighboring window wall panel of the Drone. Repeat on other side.
Step Six: Extend Inner Tent fully outwards. Insert stakes in stake loops to secure the tent. Take care not to trip over the stakes after assembly.
Disassembly Instructions:
Step One: Remove stakes and place in carry pouch.
Step Two: Detach middle floor clip from circle hook attachment at the base of the neighboring window wall panel of the Drone. Repeat on other side.
Step Three: Detach rear floor clip from circle hook attachment at the base of the window wall panel of the Drone. Repeat on other side.
Step Four: Detach roof hook from circle hook attachments above window wall panel of the Drone. Repeat on other side.
Step Five: Fold Inner Tent. Roll and secure with straps.
Step Six: Place in carry pouch and pack away in your Drone carry bag.
Things You Should Know:
- Never store your Inner Tent, even for a short period of time, without drying it thoroughly and brushing off caked dirt or debris.
- Stakes should be removed by pulling on the stake itself. Never pull on the tent to remove stakes which could result in damage to your Inner Tent or injury.
- Do not leave your Inner Tent set up for weeks at a time. Be aware that exposure to direct sunlight can seriously damage material and/or cause discoloration.
View our step-by-step guide with images and demo video below. If you have any questions or need further help, contact us at info@beehivecamping.com.

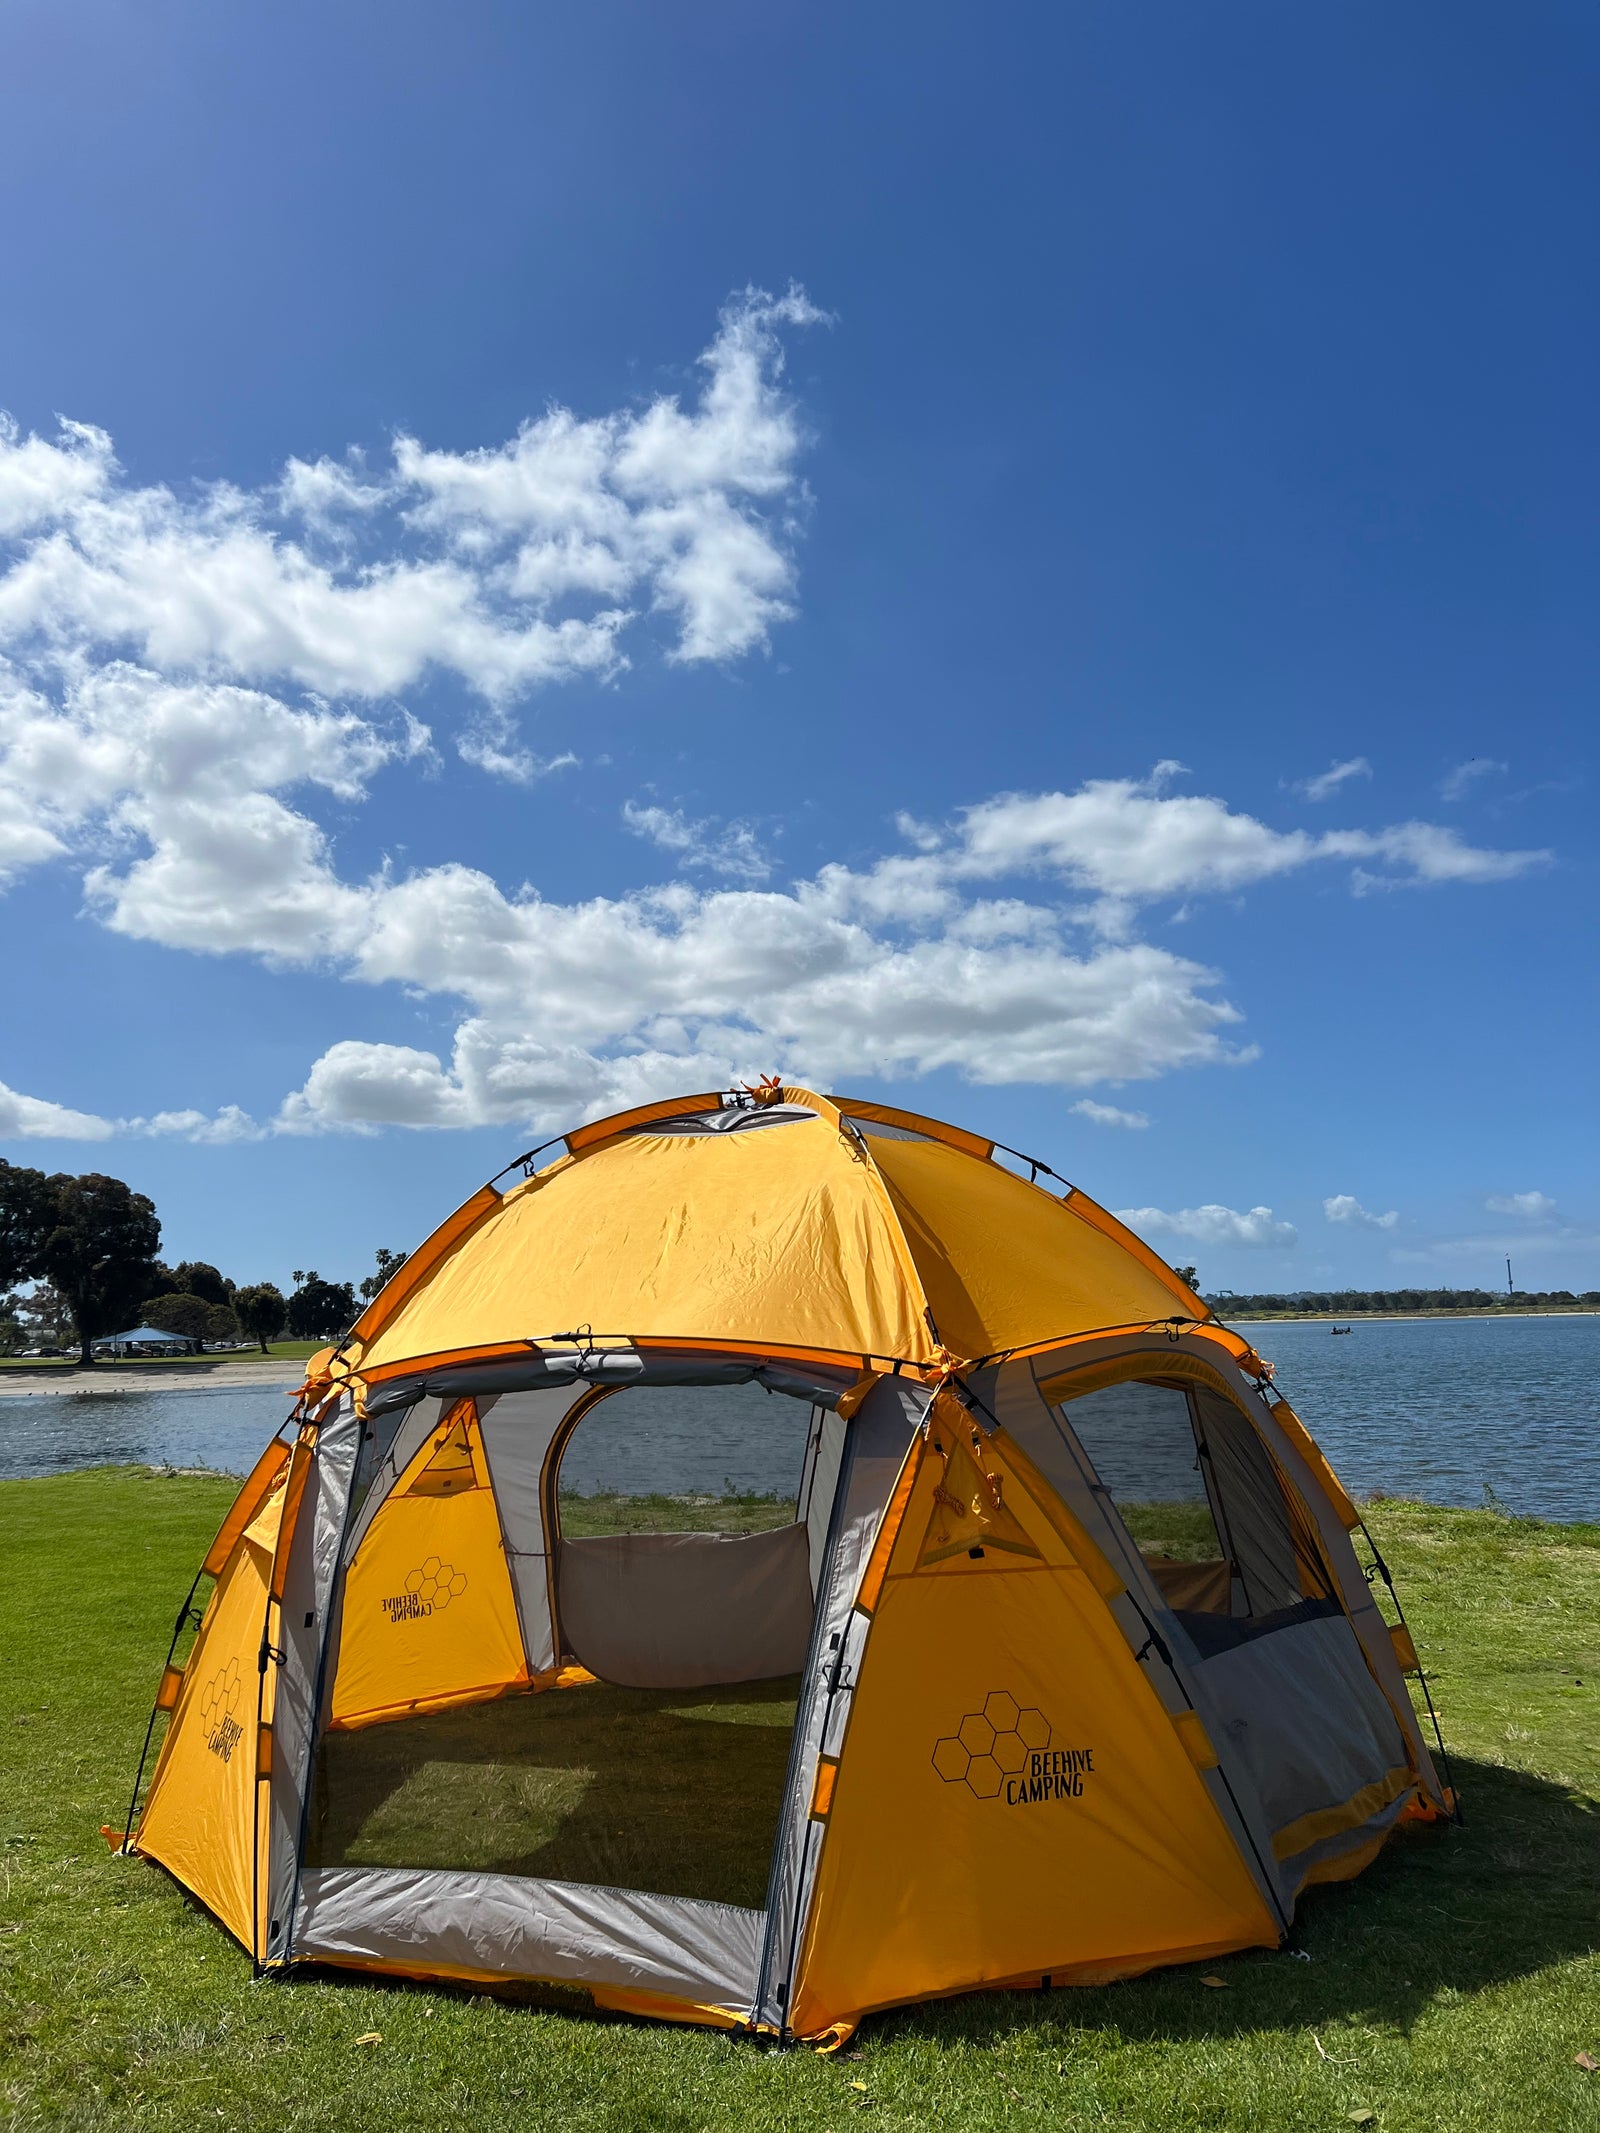
The Drone was designed for instant setup and takedown. It is critical that you takedown your Drone safely and correctly to ensure your tent will last for many adventures...
Drone Disassembly Guide

To make setting up your new Inner Tent easier, we’ve prepared a step-by-step guide that will help you get familiar with your new tent.